So: I have my fancy, unstapled, lubricated switches.
I have my custom-manufactured, freshly painted plates.
It’s time to solder this thing together.
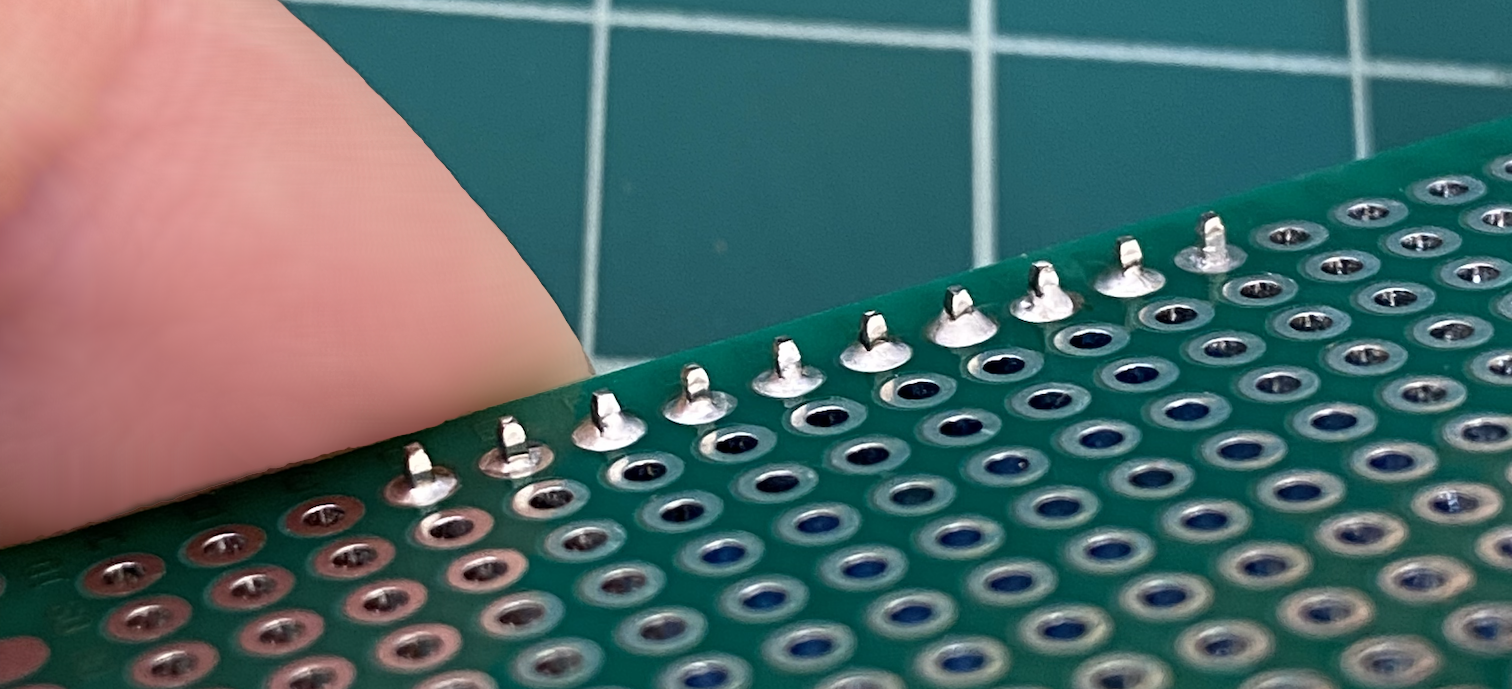
I ordered a set of prototyping boards to use to practice soldering. I thought I would have to practice soldering, like this was a skill that I would have to work on until I was ready to tackle the keyboard.
This was absolutely not true.
It was nice to have the practice boards to get a feel for the temperature of the iron – I found 375°C to be right for my particular combination of cheap soldering iron and lead-free rosin-core solder – but beyond that… well, it’s really, really easy to solder through-hole components. I watched some videos on proper soldering technique – which was very valuable – and by doing the things people said everything just fell into place. Solder wants to adhere to hot metal. Make both contacts hot, press some solder on, and you’re done.
I experimented with different quantities of solder to get a feel for what was too much and what was too little, and I played around with the temperature a little. And then I got bored, and started on the real thing.
The first step is to solder in the diodes – one for each switch. In order to do that you have to bend the legs, and there are special diode-leg-bending tools you can get to make that easy. I didn’t get one, but I found that two of the 3mm acrylic plates sandwiched together made a perfect guide.
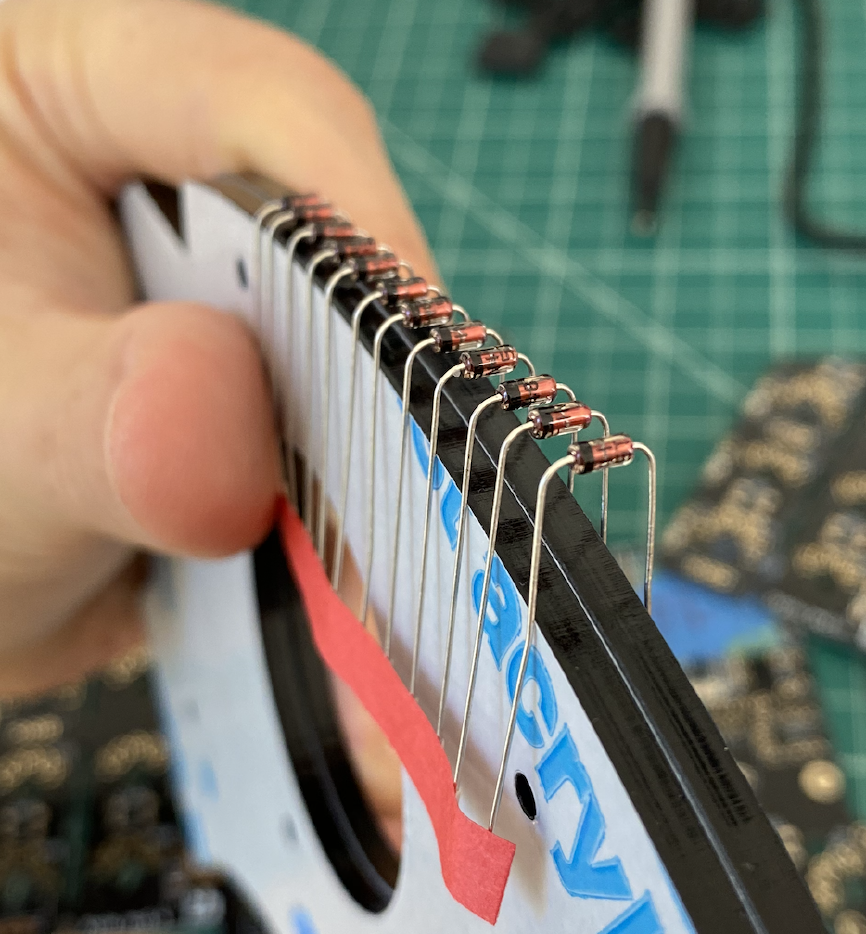
I bent them, installed them, and soldered them, being very careful about the orientation – honestly there’s nothing interesting to say about this part. I followed the official build guide. It was fun and meditative and relaxing.
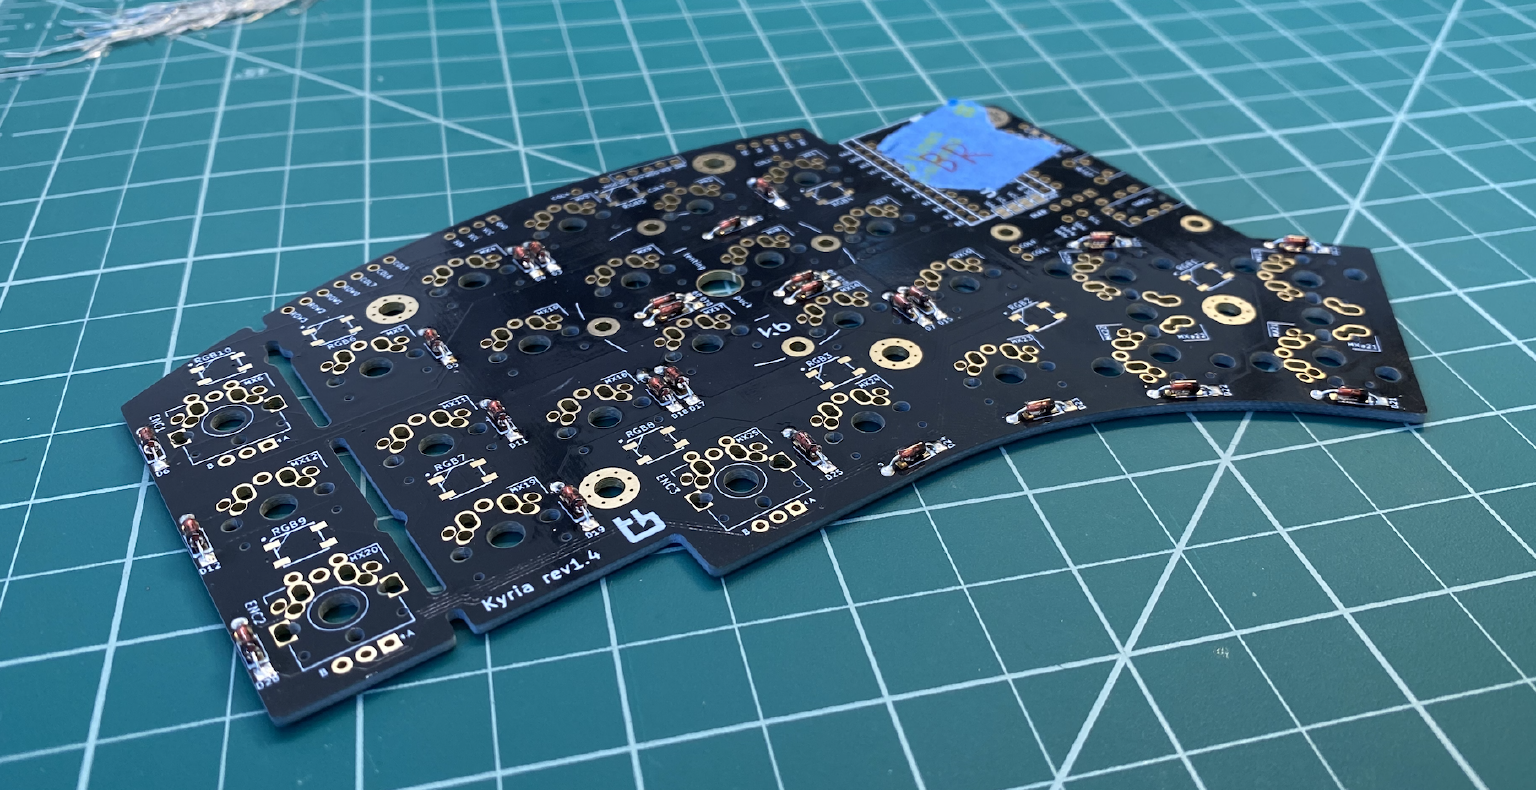
The only components you need to solder on for a wireless keyboard are the diodes, switches, and microcontroller. The reset button is pretty nice too, but you can just bind a key to reset in your firmware, and short the reset pin manually to flash it the first time.
I went ahead and soldered everything, though – which just means the TRRS jack and OLED resistors. Because the nice!nano is “socketed,” not soldered directly to the PCB, I can always pull it out and replace it, so it’s nice to have the TRRS jack in case this whole Bluetooth thing doesn’t work out. I don’t think I would ever install an OLED display on my keyboard, but hey the resistors look cool and soldering is fun.
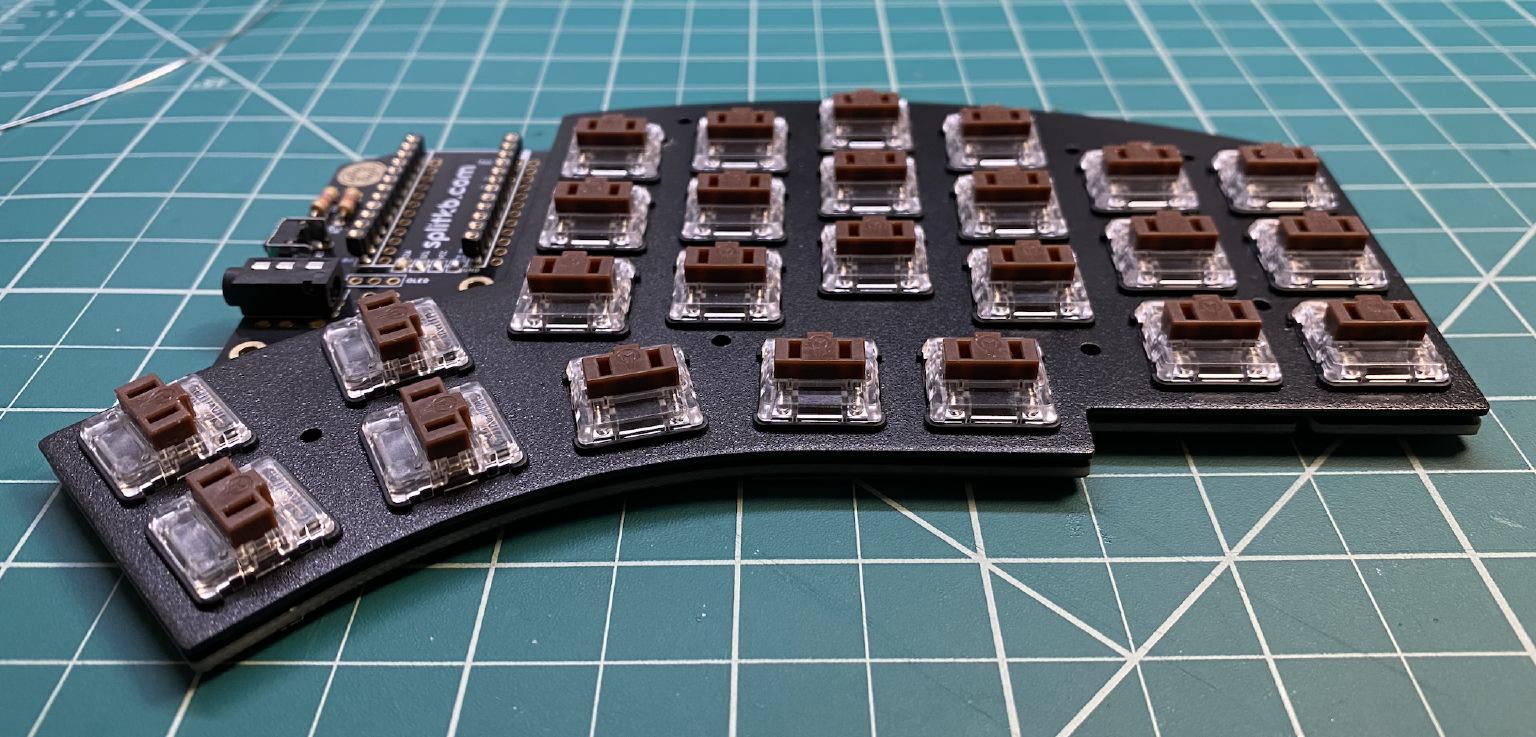
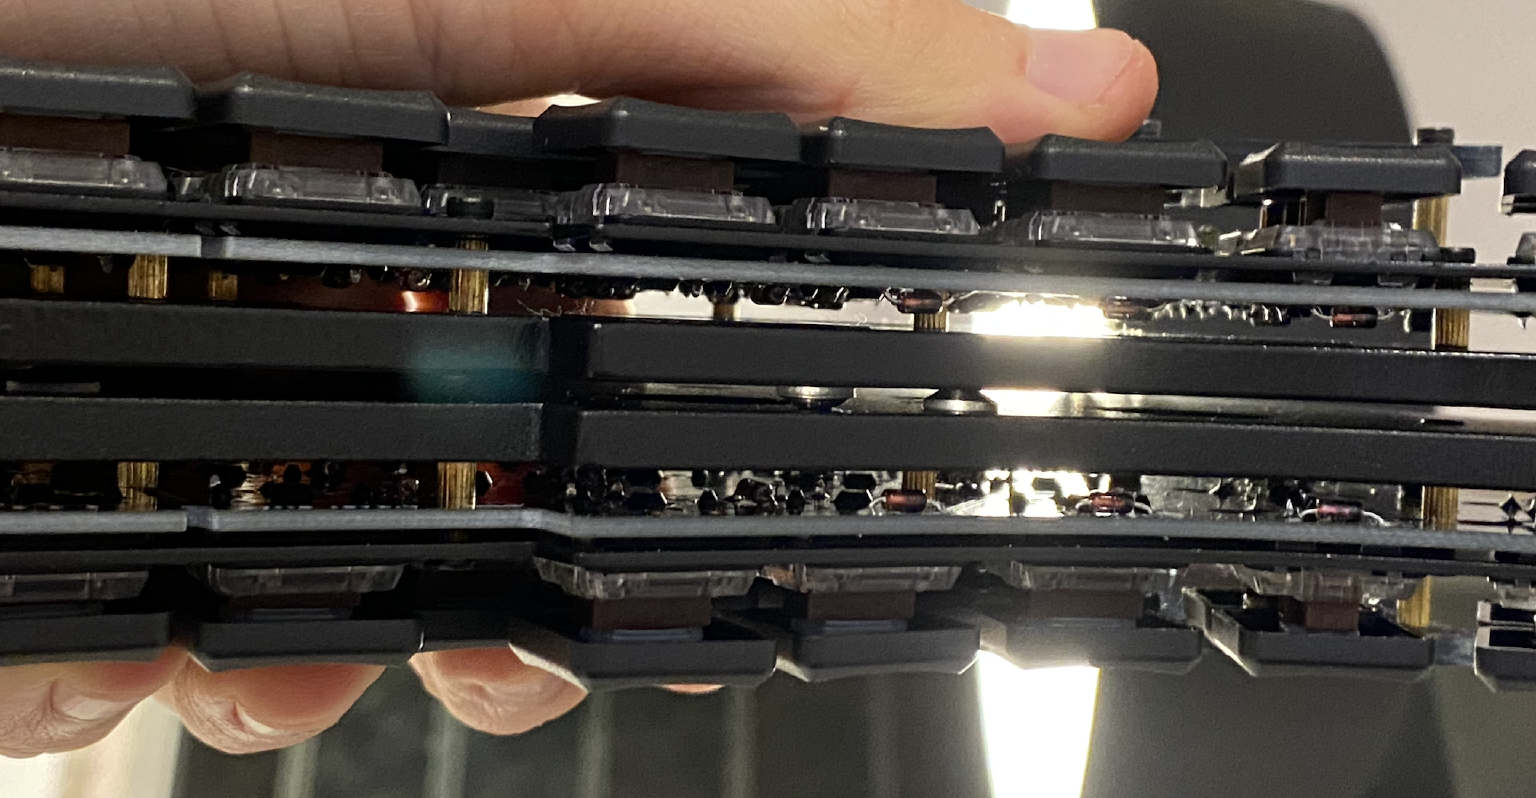
My favorite part was soldering the switches. I kind of want to build another keyboard just to do more soldering. It was so… peaceful. Just complicated enough that you can’t completely zone out, but so repetitive that I sort of entered a trance state. Makes me want to look into knitting or something.
Somehow I screwed up and only ordered one set of pins for my microcontroller sockets, so I got to try using diode legs for one of them and fancy header pins for the other one.
I do prefer the fancy pins – they’re much stiffer, so they don’t bend when you remove the microcontroller. The diode legs, meanwhile, are incredibly flexible, and any time I take the microcontroller out I have to manually re-straighten the pins with tweezers.
But the pins are like $4 per microcontroller or something like that, which feels pretty pricey for what they are. I don’t know if they’re that much better. It’s not like I’m going to remove the microcontroller very often.
I was very neurotic about testing every switch with a multimeter, before and after soldering, to make sure that I didn’t get any defects or short anything out. But I didn’t. Everything went beautifully.
Until the very end.
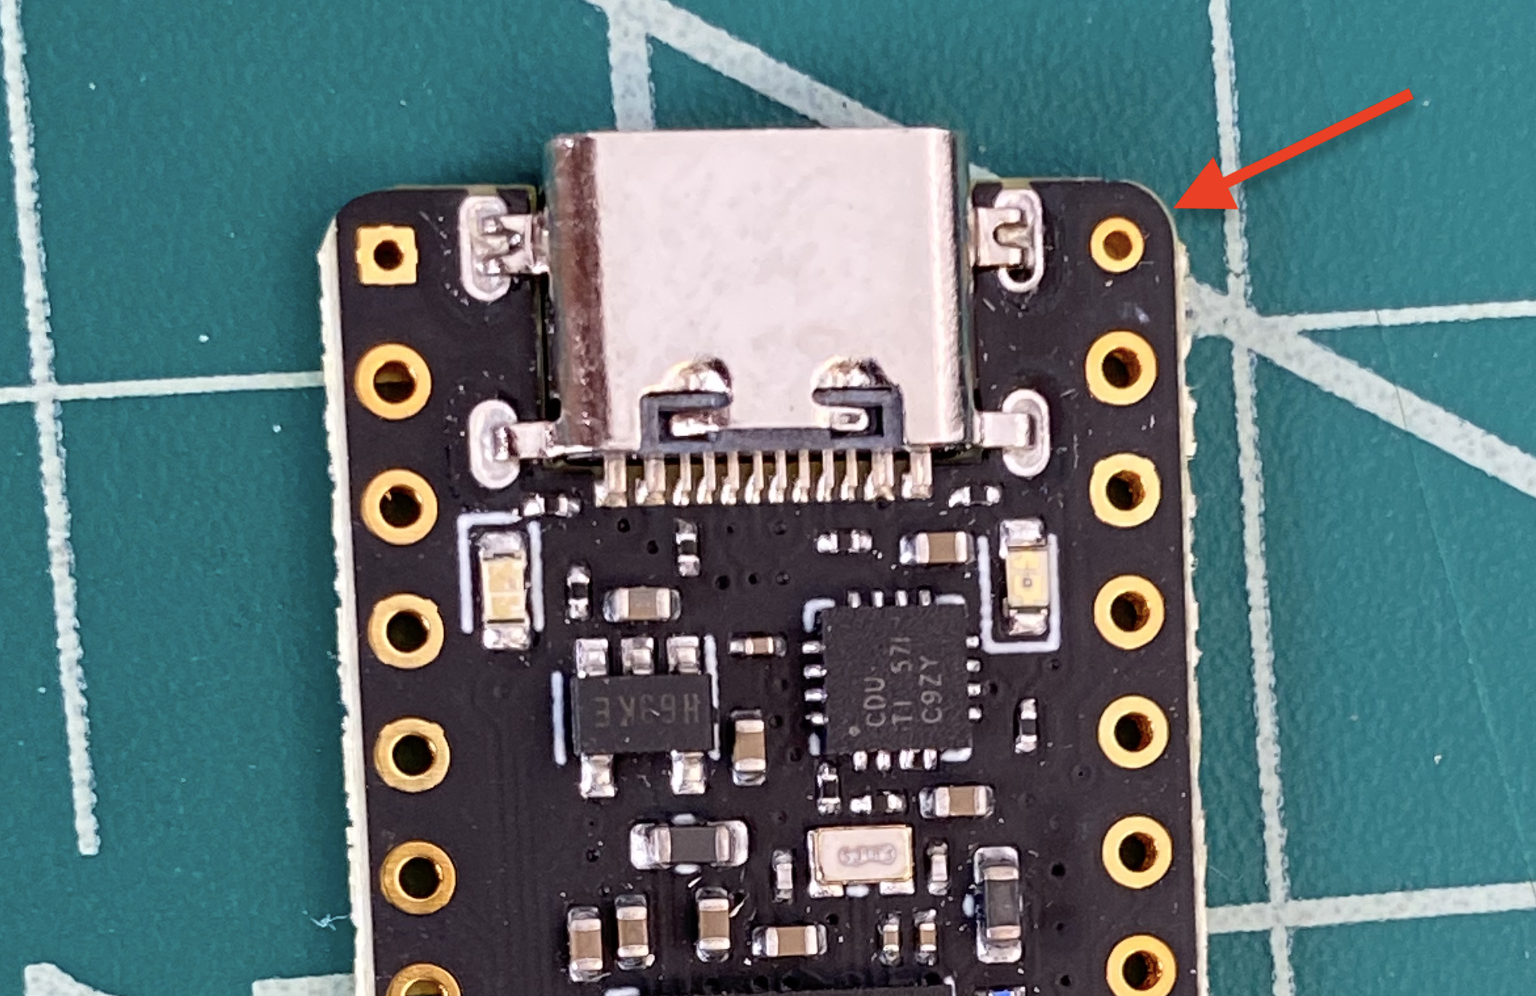
The only part of this process that I didn’t like was soldering the battery terminals.
See, in order to fit in a normal Pro Micro footprint (I assume), the holes for the battery terminals on the nice!nano are much smaller than the rest of the holes.
And because I was soldering wire, not diode legs or switch terminals, I had to use a “helping hands” in order to hold it the microcontroller stable – though I guess I could have stuck it in a breadboard instead.

But the trickiest part of this process was entirely my fault: I cut the wires on one microcontroller to the wrong length, and had to desolder and reconnect them.
Desoldering these tiny holes was really hard. I used the solder sucker that came with my soldering iron, and it worked eventually. But I would recommend being very careful with this part. Soldering them wasn’t fun in the first place. Desoldering was even worse.
I didn’t take any pictures of the desoldering bit so please content yourself with this picture of one of my quality inspectors bringing me a Christmas present just a few days after he joined the firm:

I used a JST connector, rather than soldering the battery directly to the nice!nano, in case I ever need to replace it.
Unfortunately the Kyria wasn’t designed with a slot for a JST on the PCB itself, so the wires are just kind of hanging out loose next to the microcontroller.
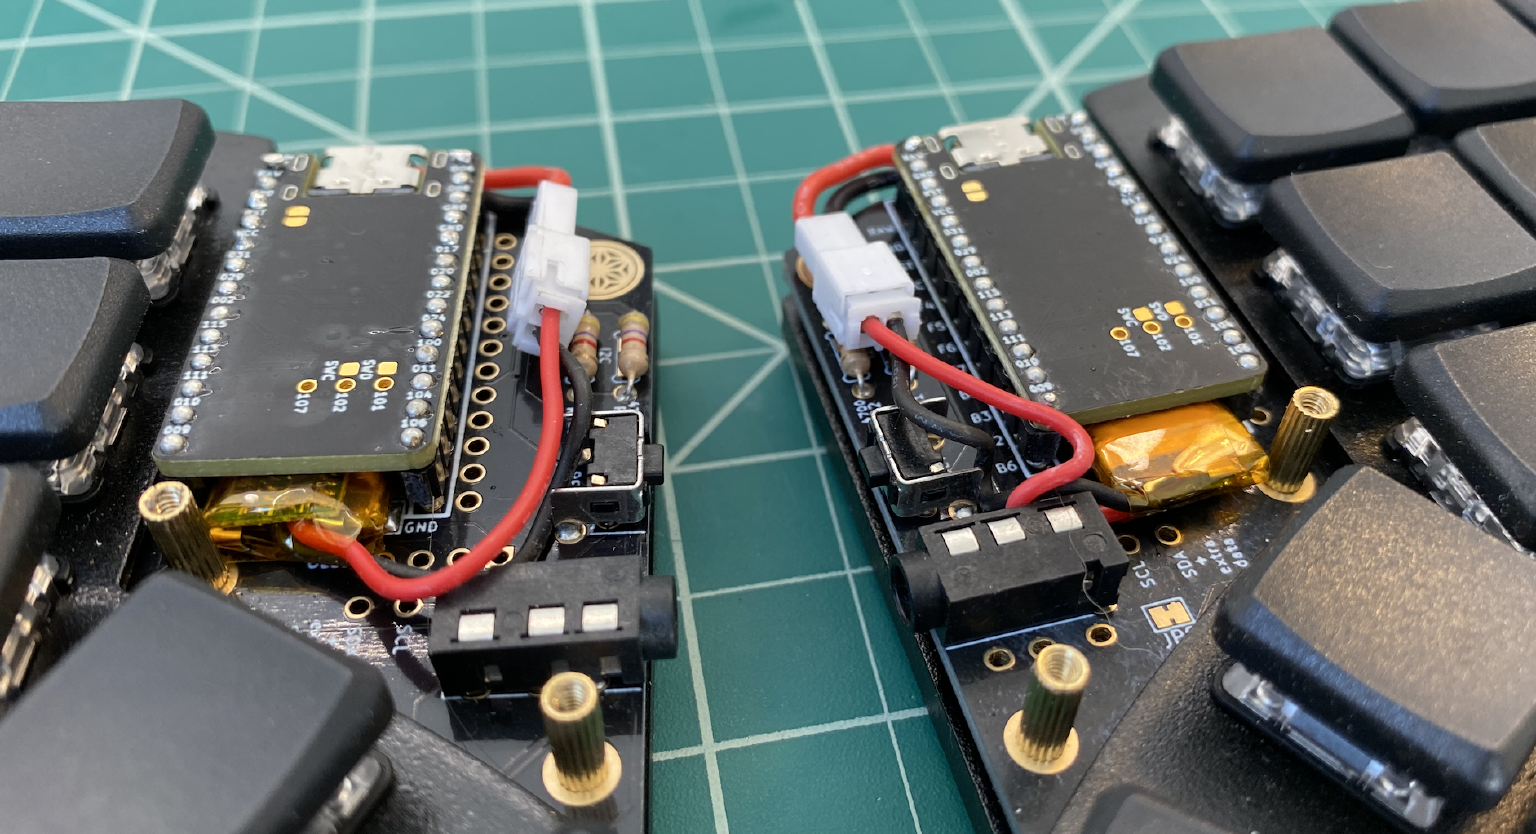
It’s not the prettiest thing, but they’ll be covered up in regular use so whatever.
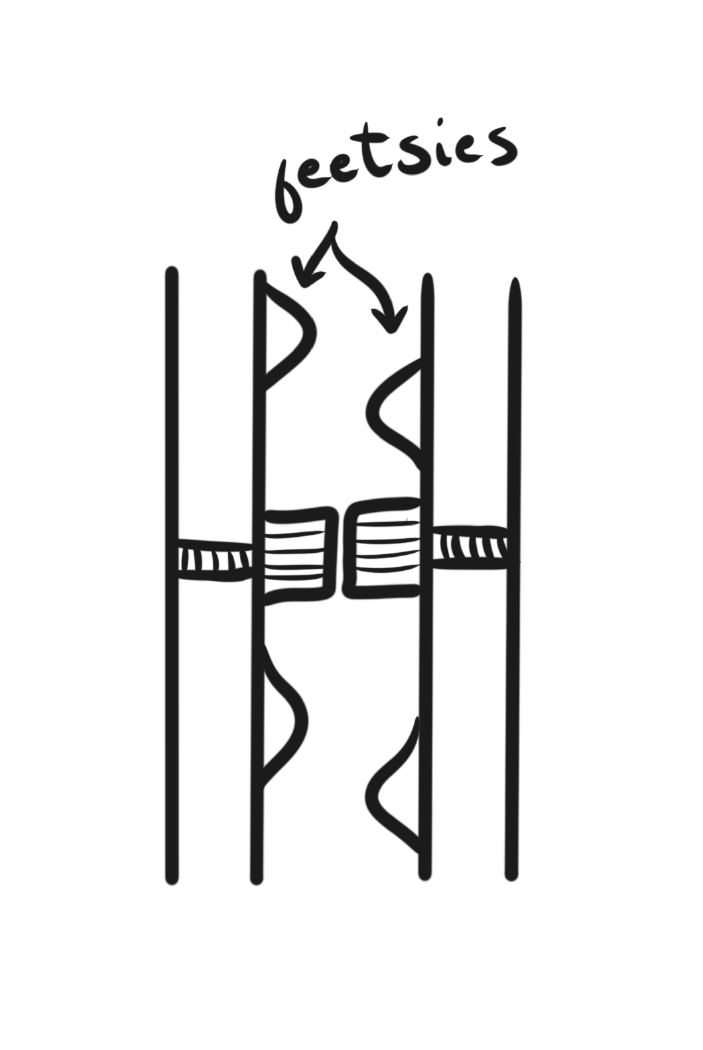
The last part of assembly was installing the bottom plate and the little rubber feetsies.
So one thing that I wanted to do was have the case snap together with its magnets. That means the polarity has to be correct, or the halves will repel one another. I got that right. And the rubber feet have to be stuck on at slightly different positions on each half, so that they won’t hit each other. Got that too.
But I didn’t think about the screws.
In order for the halves to fit together as flatly as possible, the screws would have to stick out at most half of the thickness of the rubber bumpers.
But the custom black screws I bought were way too thick for that. Actually slightly thicker than even a single rubber bumper, so the case couldn’t even sit flat on a surface without the screws touching:
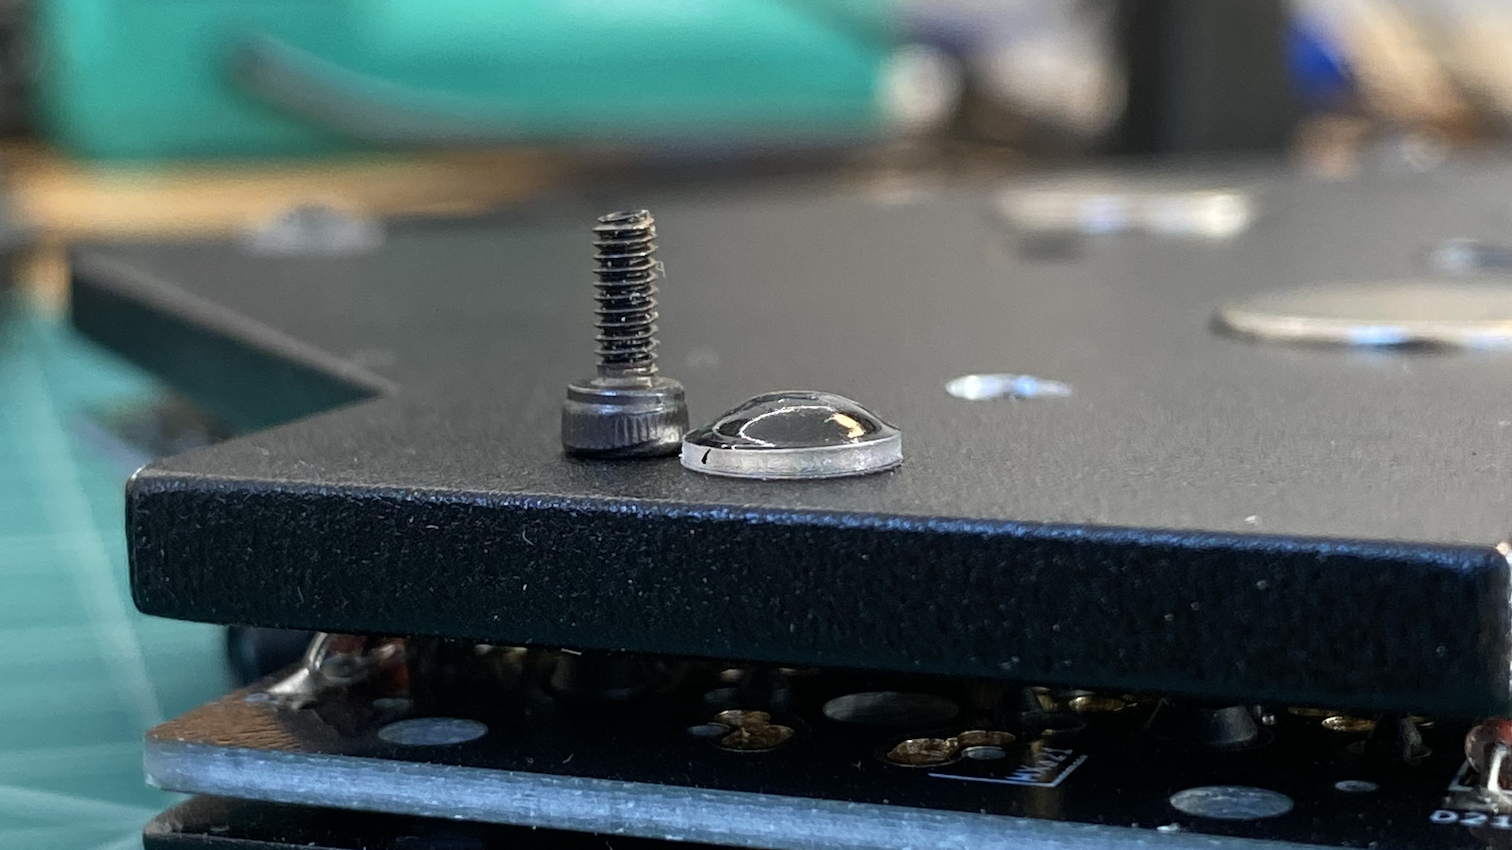
So that obviously wasn’t going to work – I’d have to countersink them.
SendCutSend can do countersinking, apparently, if you contact them to get a custom quote. It’s an experimental new product that they’re testing out. But I didn’t think of this in advance, so I ended up countersinking the screws by hand.
Which was actually fine! And better than spending $42 on countersinking – SendCutSend charges $3 per hole, and each half has seven screws.
Because the holes were already in place, I just used a cordless drill with a regular drill bit, and the existing hole acted like a guide to keep it centered. Aluminum is very soft – you can literally cut it with a pocket knife – so drilling into it is no problem. You don’t need a special drill bit or anything, and for such a tiny cut I just took it very slow so that I wouldn’t have to worry about the bit heating up.

A drill press might have been nice to ensure a consistent depth, but I just eyeballed it, and the screws came out fine.
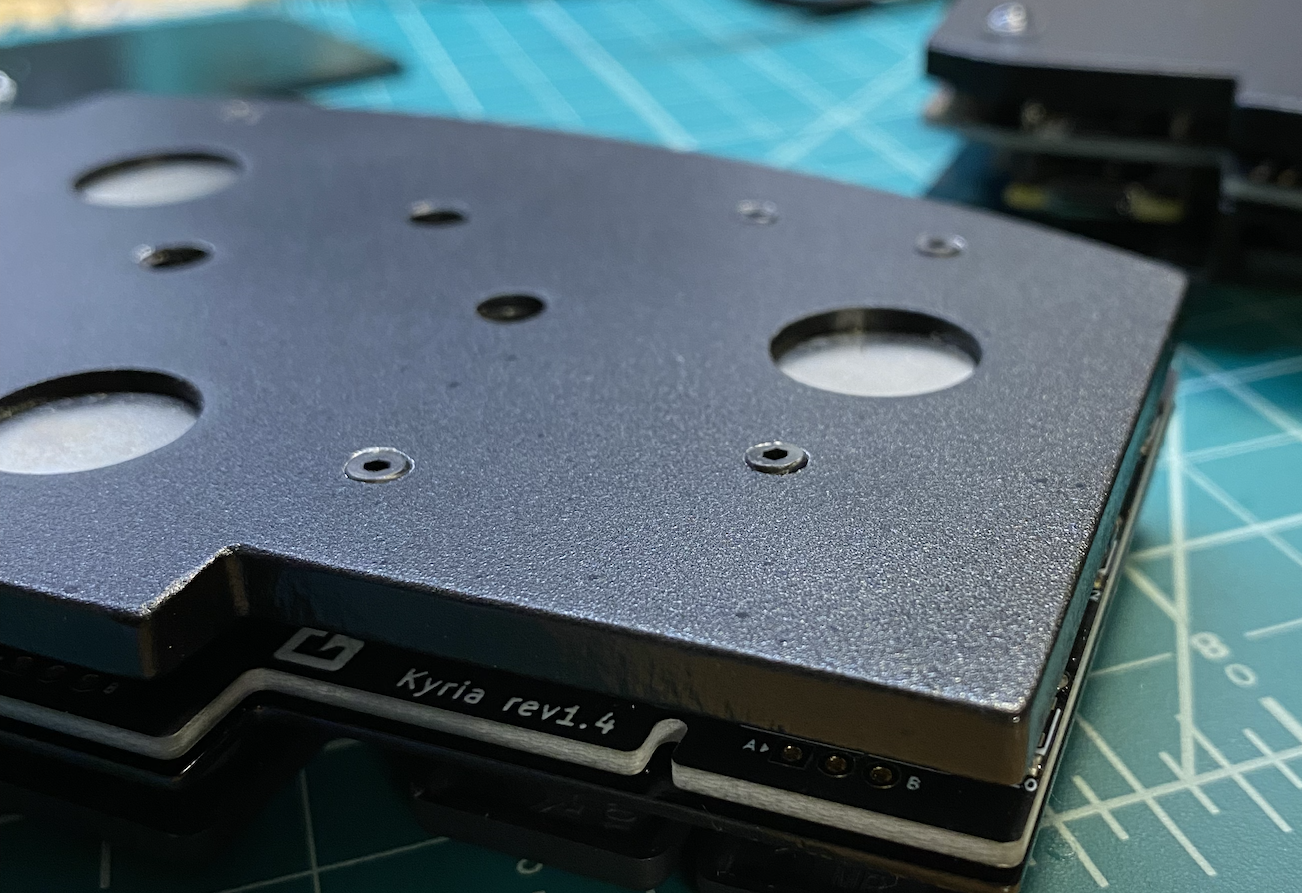
I wish that I had done this before painting everything, but whatever. It’s the bottom of the case. No one will ever notice.
And once I was done, the halves snapped together perfectly: