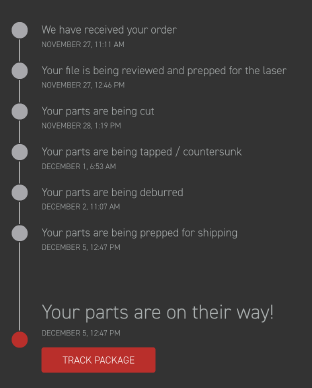
It took a little bit longer to get these plates than my first order – the tapping added time, and I guess it was closer to the Christmas holidays. But I still had my parts in hand ten days after I ordered them.
Both of the aluminum plates had one pretty sharp edge along the top, although the deburring was otherwise perfect.
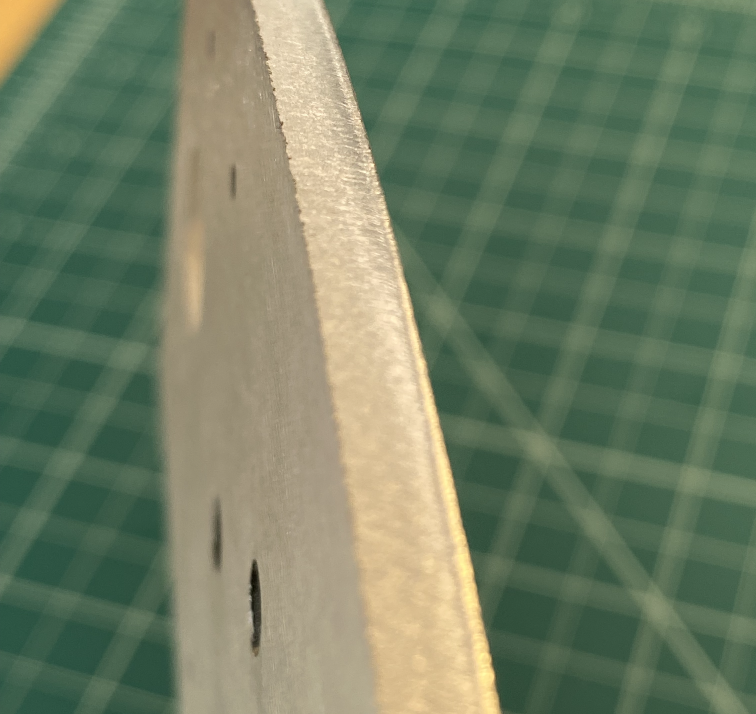
I had to spend a few minutes with a file taking that off. Not a big deal, but I was surprised because the first set had been completely smooth.
That was my only complaint, though. The taps were perfect, and the holes for magnets made a tight friction fit.
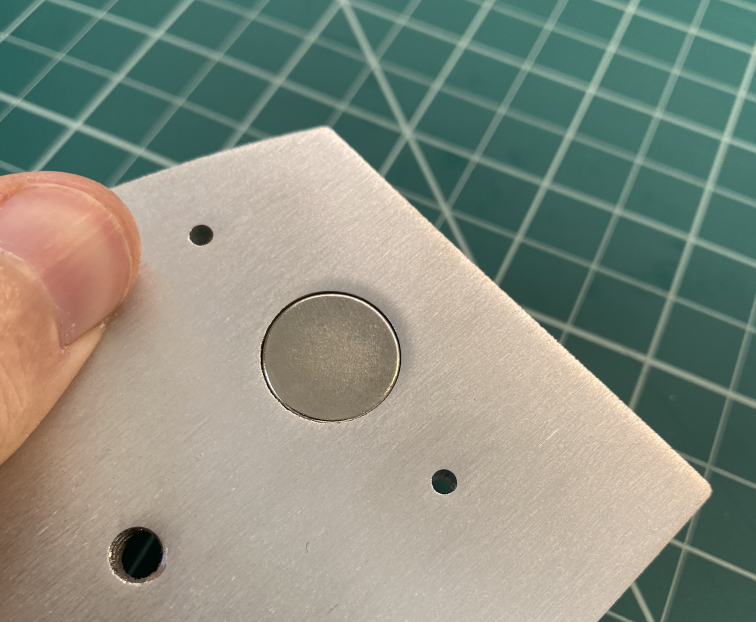
I could find no fault with the top plates. I was pleased to see that my janky custom top plate aligned perfectly with the PCB – manually positioning the switch holes worked out for me. And the 1.2mm thickness was just about perfect for the switches to pop in snugly:
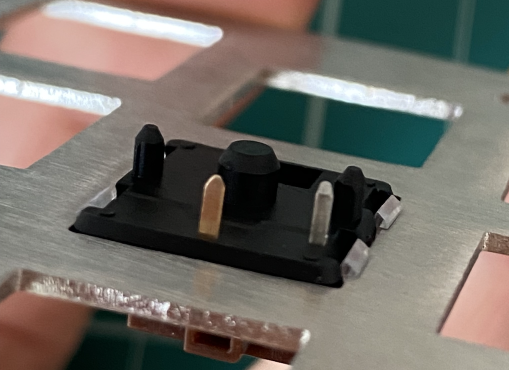
I liked the look of the stainless steel so much that I thought about leaving it unpainted, but eventually I decided to stick to the plan.
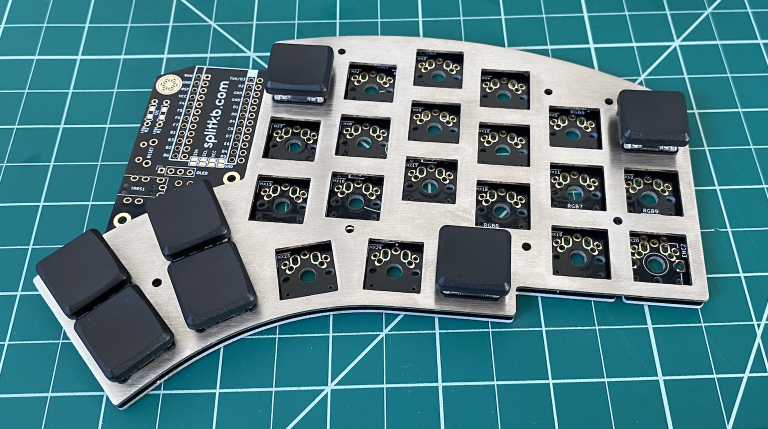
So I painted them.
I painted them with regular Rustoleum “Universal Enamel” spray paint in “Satin Black.” Rustoleum claims that this spray paint works on any surface, including “metal” and “aluminum,” and the internet confirmed that that included stainless steel. These claims, as far as I can tell, are absolutely correct.
I had never spray painted anything before, but it was pretty easy. I happened to already own a pretty good ventilator mask, as well as eye protection and nitrile gloves, so all I had to buy was the can of spray paint.
Your quality inspectors will want to supervise, so make sure that you do the painting somewhere they aren’t authorized to enter.
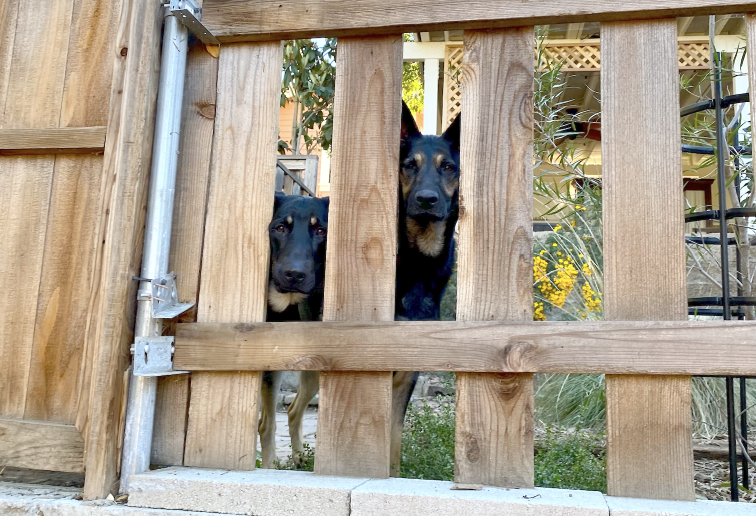
Also bear in mind that your quality inspectors have never seen you in a ventilator mask and eye goggles before, and they will decide that you are an intruder once you smell like vaguely like aerosol. So it’s better to give them the day off.
I did a test run with a couple of the old bottom plates that I wasn’t going to use, to get a feel for how spray paint works. It turns out it’s pretty idiot proof: I did one in multiple light coats, and one in a single heavy coat, and I couldn’t tell any difference in the final result.
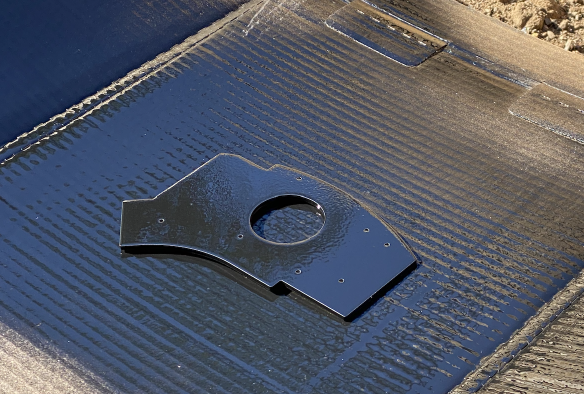
I’m glad I did the test pieces, because I learned that the paint doesn’t adhere very well to the sharp corners of a laser-cut piece.
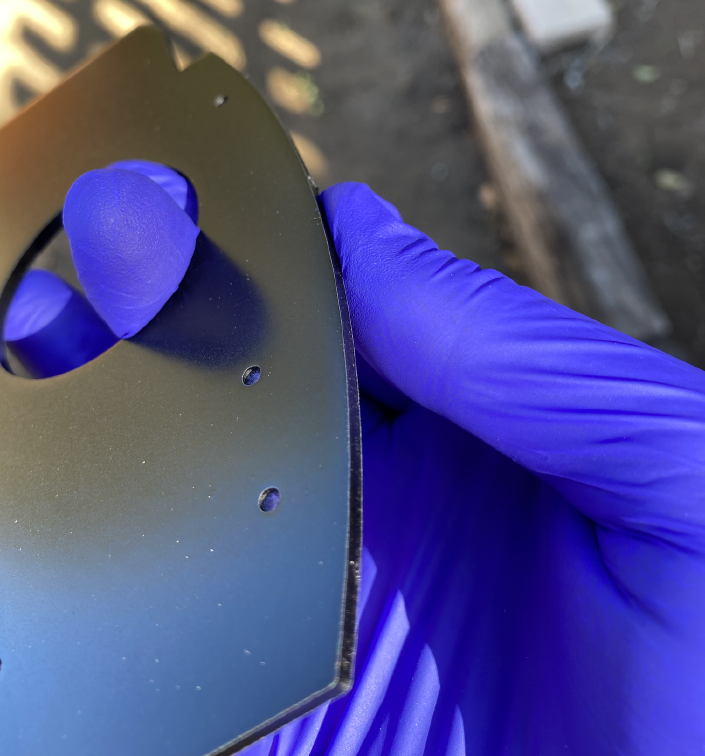
So before I did the real plate, I rounded off the corners a tiny bit with a small file and some sandpaper.
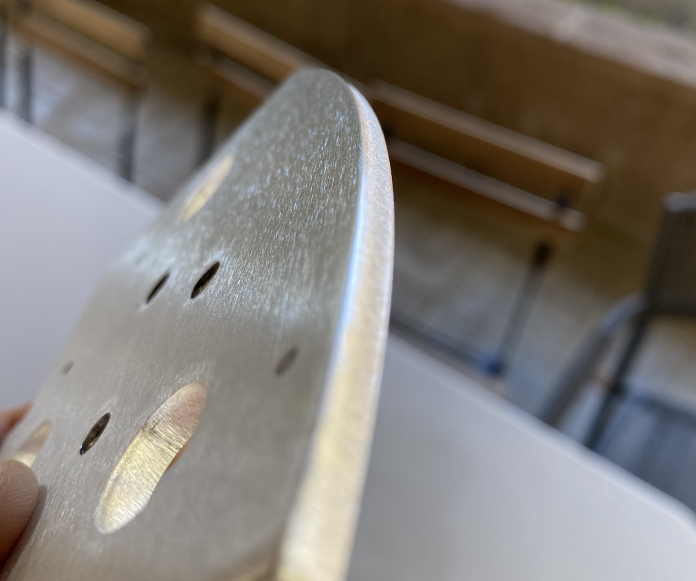
Okay, I guess they don’t look very rounded, but they felt smooth. And the paint adhered great!
The “satin” spray paint is noticeably shinier than the matte black acrylic of the official Kyria plate, but it almost perfectly matches the shininess of the keycaps I got, so I’m not sad about it. I’ll pretend that I planned it that way.
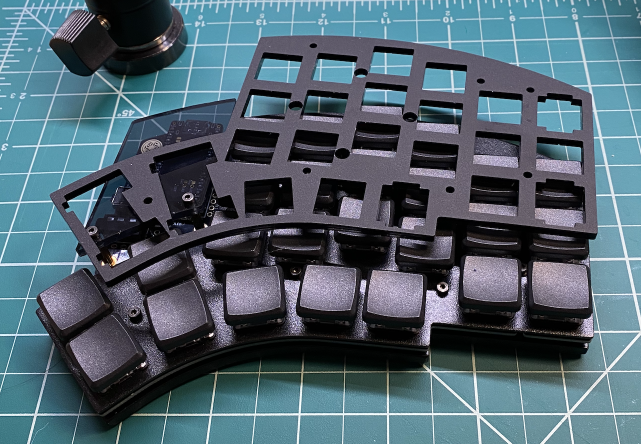
But… spoilers.