There are very few keycaps compatible with Choc switches. In addition to having different PCB footprints, they also have different stems. This means you basically have to get something called an “MBK” keycap, and they are perpetually out of stock everywhere.
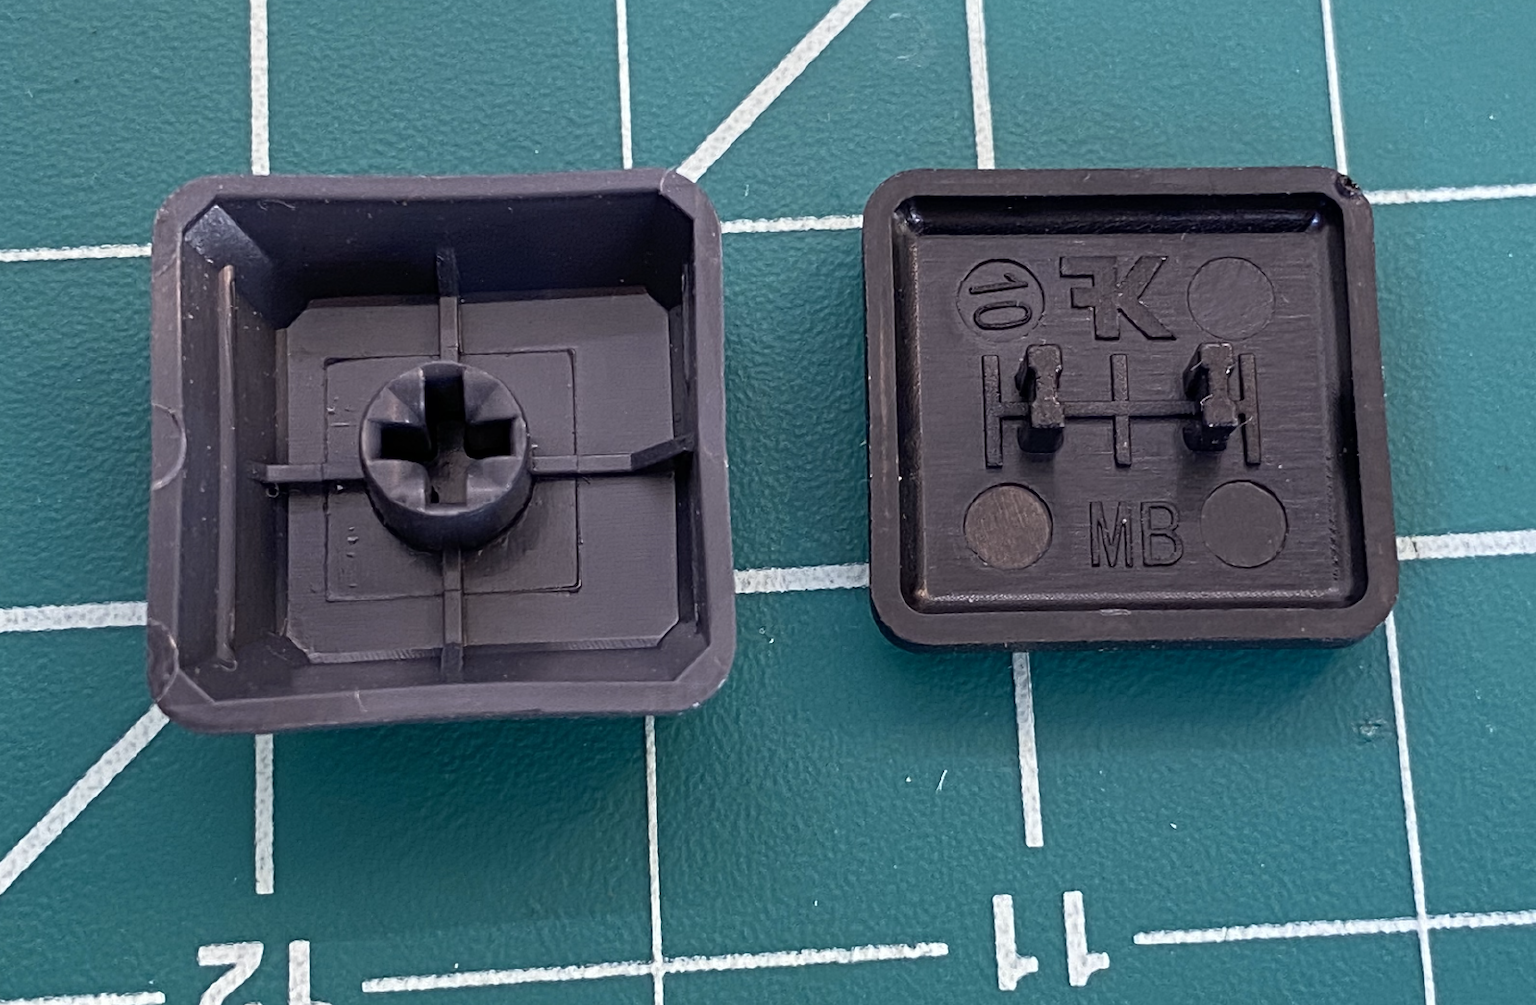
I managed to find some at the same place I got my switches and nice!nanos: MKUltra. They’re the only place I’ve seen that stocks colored MBK keycaps, although I stuck with black.
You might think that I can’t possibly stretch this most trivial of all keyboard components into an entire blog post, but I actually have a few things to say about keycaps.
First off: O-rings.
Once upon a time I used to play an online video game with voice chat, and I put O-rings on my keyboard in an attempt to reduce the frantic, panicked sound of my desperate key mashing. O-rings really do make a keyboard much quieter, and in my opinion the soft padded rubber feels better than the hard clack of plastic on plastic. I’ve put them on every keyboard I’ve owned since.1
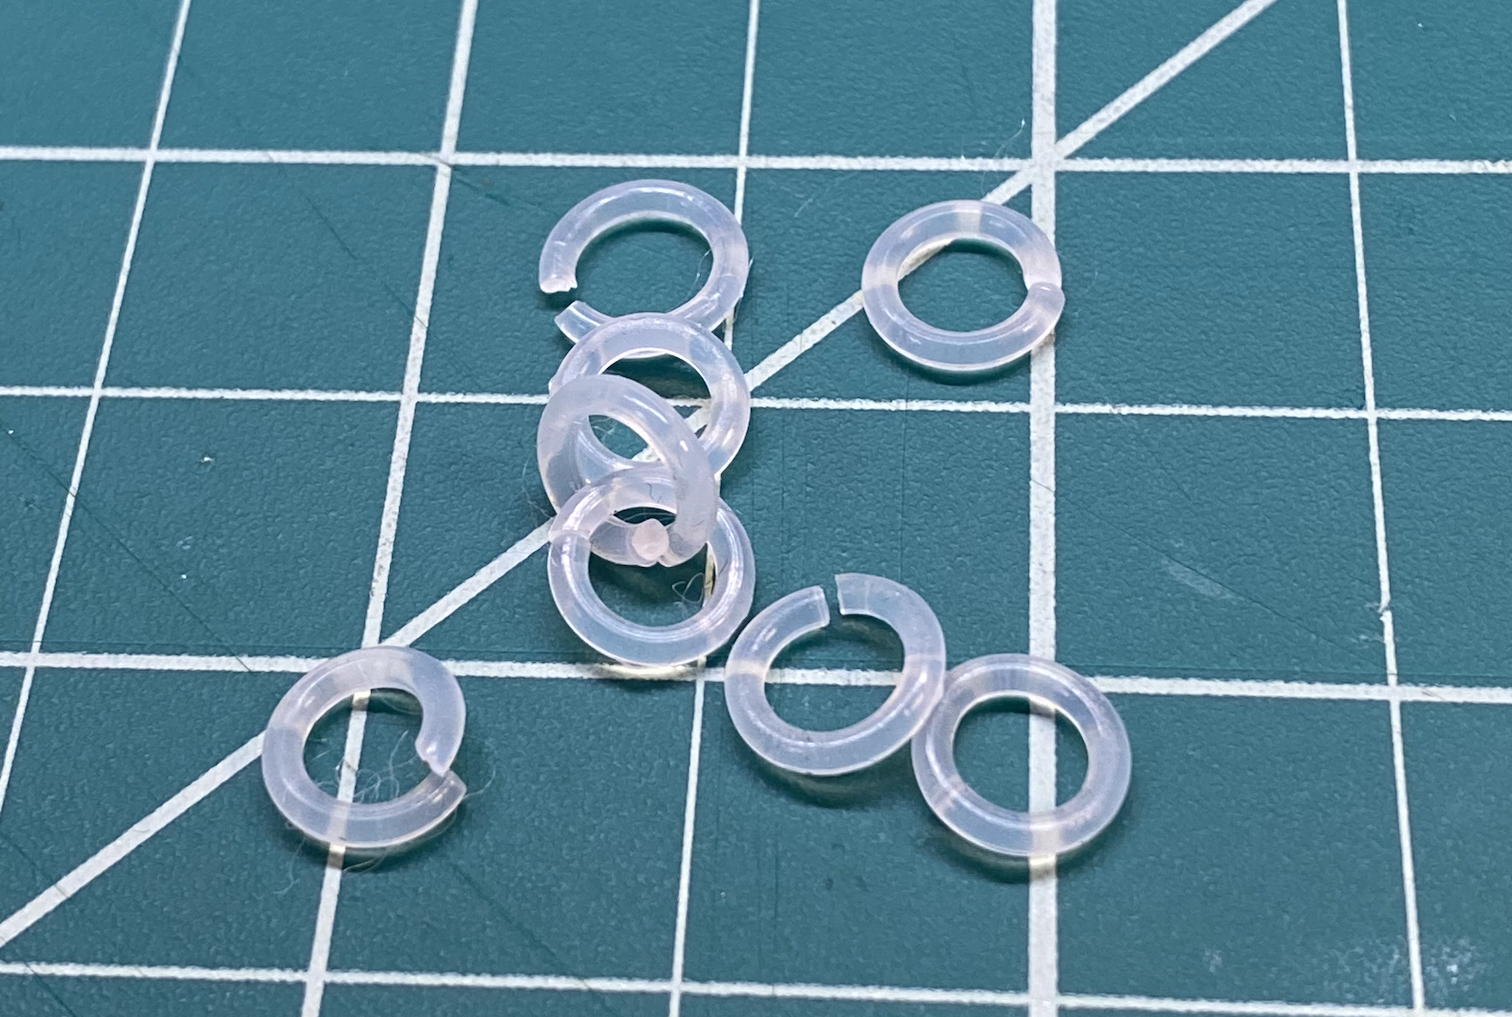
I’ve never used Choc switches before, which have a different stem design than normal Cherry-compatible switches, but it turns out that regular O-rings fit Choc stems just fine:
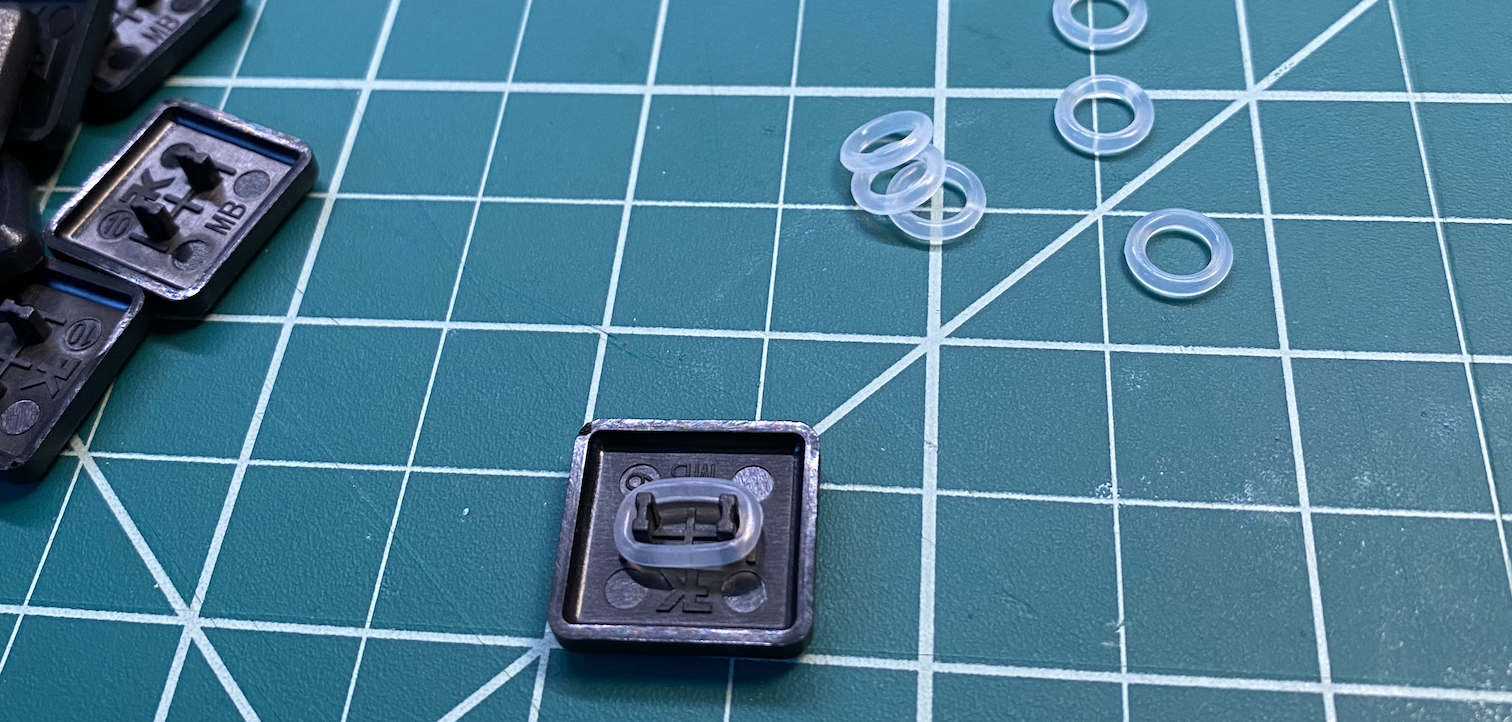
But they won’t allow the stems to seat fully in the switch, so they actually raise the entire height of each keycap by 1.1mm:

Because of this, they don’t reduce the travel distance very much: without O-rings, I measured 2.9mm travel, and with O-rings 2.7mm. But also like… they might be exactly the same. I can’t think of a reason why they should reduce the travel at all, since they’re sitting on the stem. There was nothing rigorous about my measurement methodology and the keys are pretty wobbly so who knows.
Subjectively, the keys feel pretty similar to my laptop keyboard. Objectively, the travel distance of my laptop’s keys is only 1.5mm, so the Chocs are still almost twice as far. But the absolute values are pretty small here.
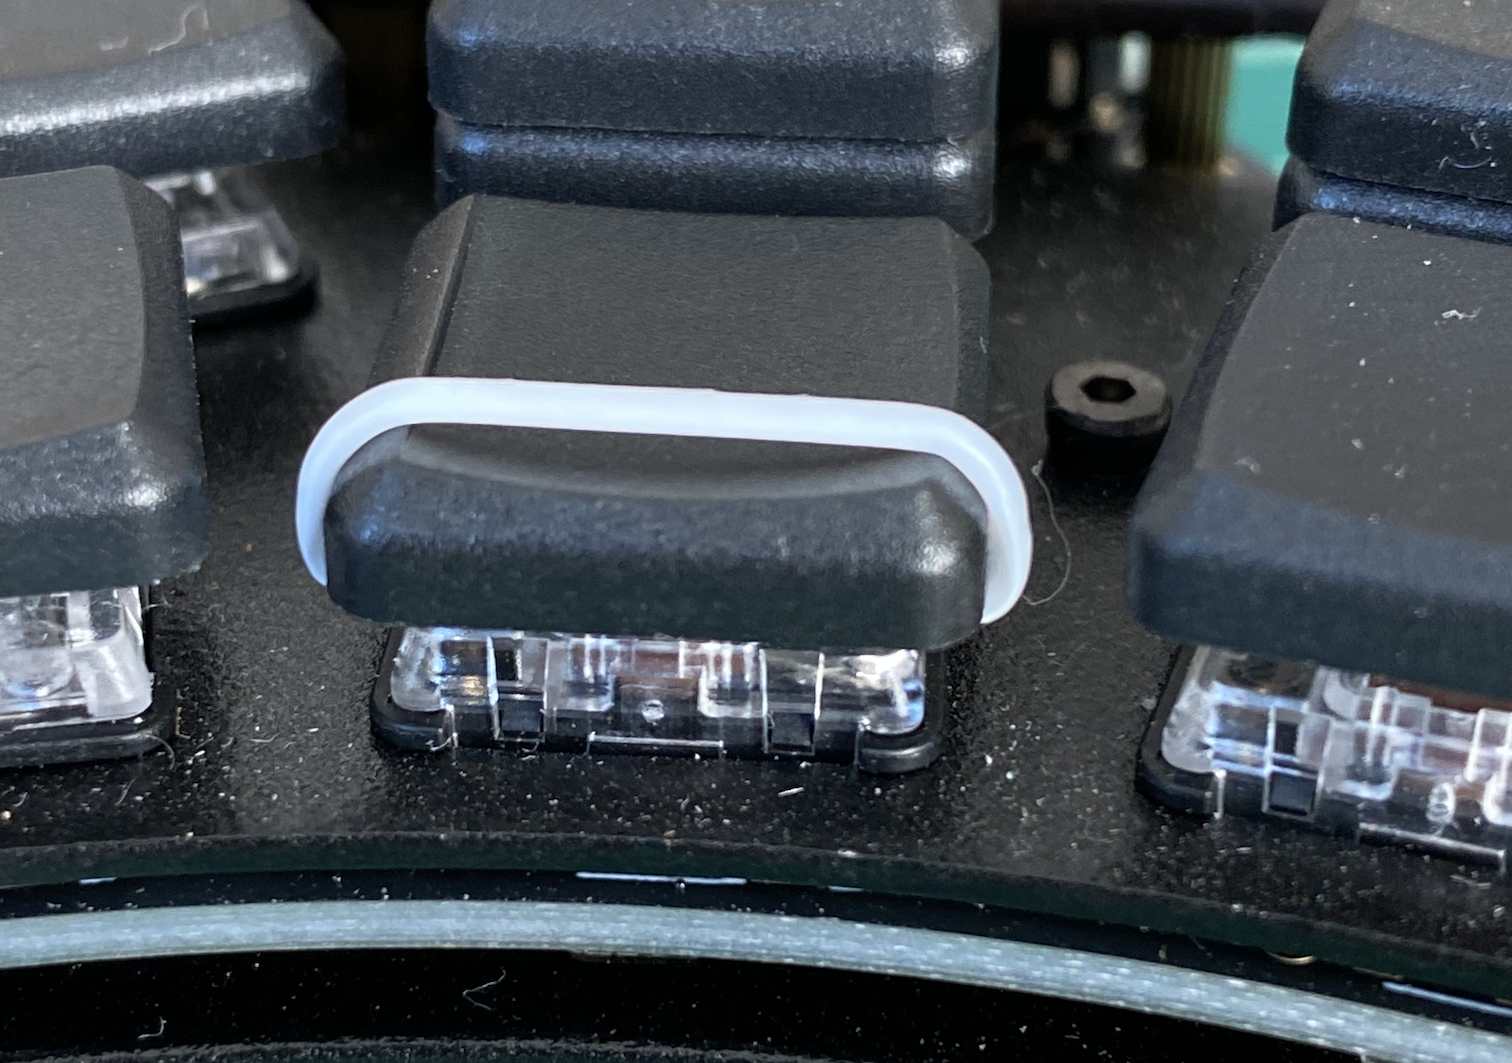
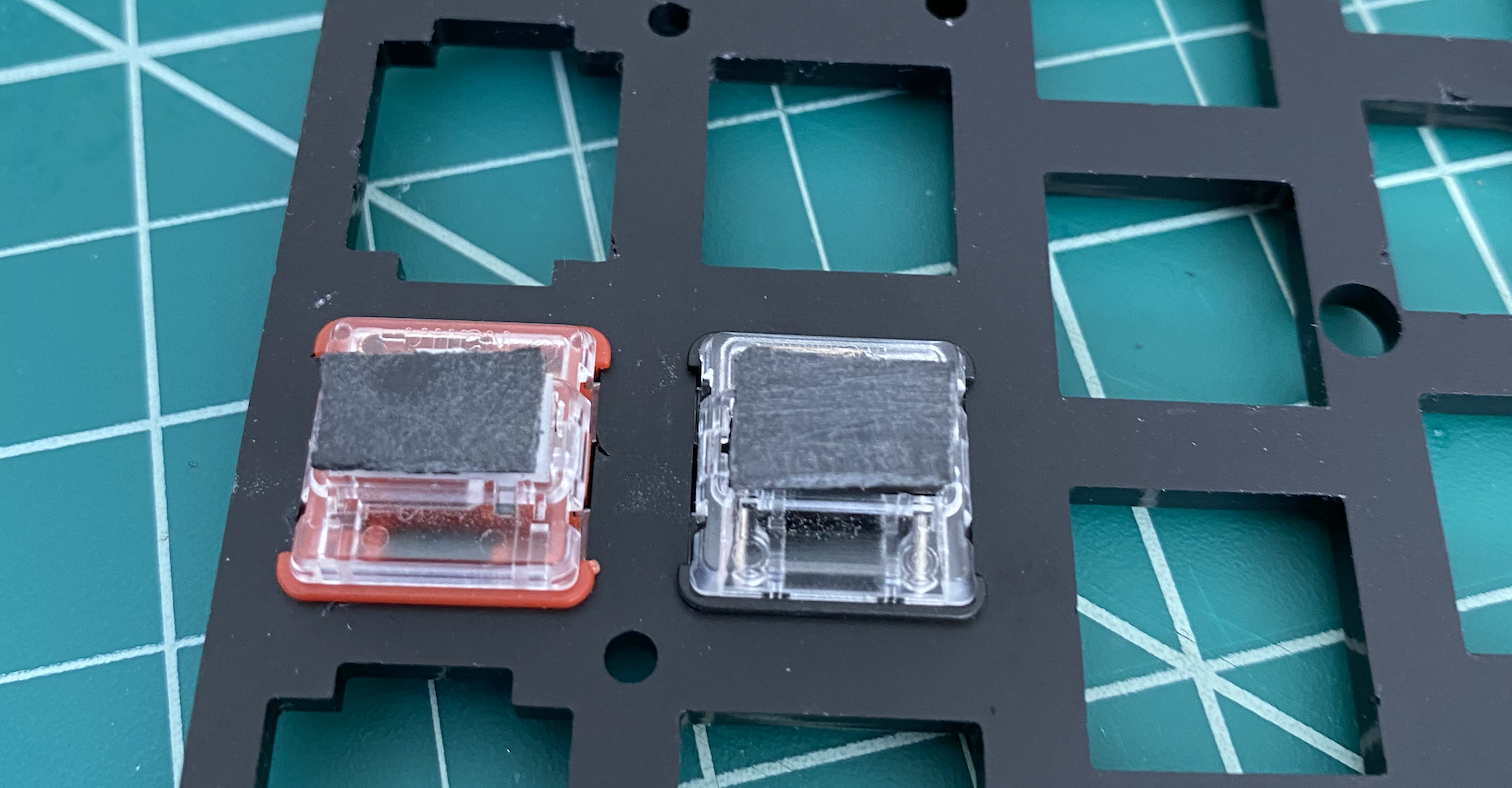
I went ahead and installed O-rings anyway, taking the 1.1mm elevation hit – it’s hard to call this a low-profile keyboard anyway, with the giant aluminum bottom plate I have. But after a few days of using it, something occurred to me: what if instead of putting the O-rings on the keycap, you put the O-ring on the switch instead? That way it would still cushion the keystroke, but wouldn’t interfere with the stem seating at all.

So… this sort of works. But O-rings are obviously not designed to be used this way, and it is visibly under tension in a way that makes me worry it might break at some point in the future.
It’s also very difficult to install the O-rings like this. Because pressing a keycap down causes the switch mechanism to depress – and thus causes the O-ring to fly off – you actually have to install the O-ring after the keycap is fully seated in the switch.
I found the best method was hooking the O-ring around the keycap, then pressing the keycap into the switch, then “rolling” the O-ring over to the other side.
This requires stretching the O-ring out pretty far. I looped them on the back of some needle-nose pliers to do it, and I snapped quite a few in the course of trying to install them before I gave up on this.
It’s just too fiddly: you need to remove the keycap, loop on the O-ring, and then re-seat the keycap completely before you roll the O-ring over to the other side of the switch, or else the O-ring will wind up sandwiched between the stem and the plate.
It also has the downside that you have to repeat this ceremony any time you remove a keycap. Which you probably don’t do often, but still.
I decided it wasn’t worth it unless I can come up with a better installation method. I’ll take the 1.1mm hit for now.
Here’s a video comparing the difference in sound and travel between keycaps with O-rings and without:
Okay.
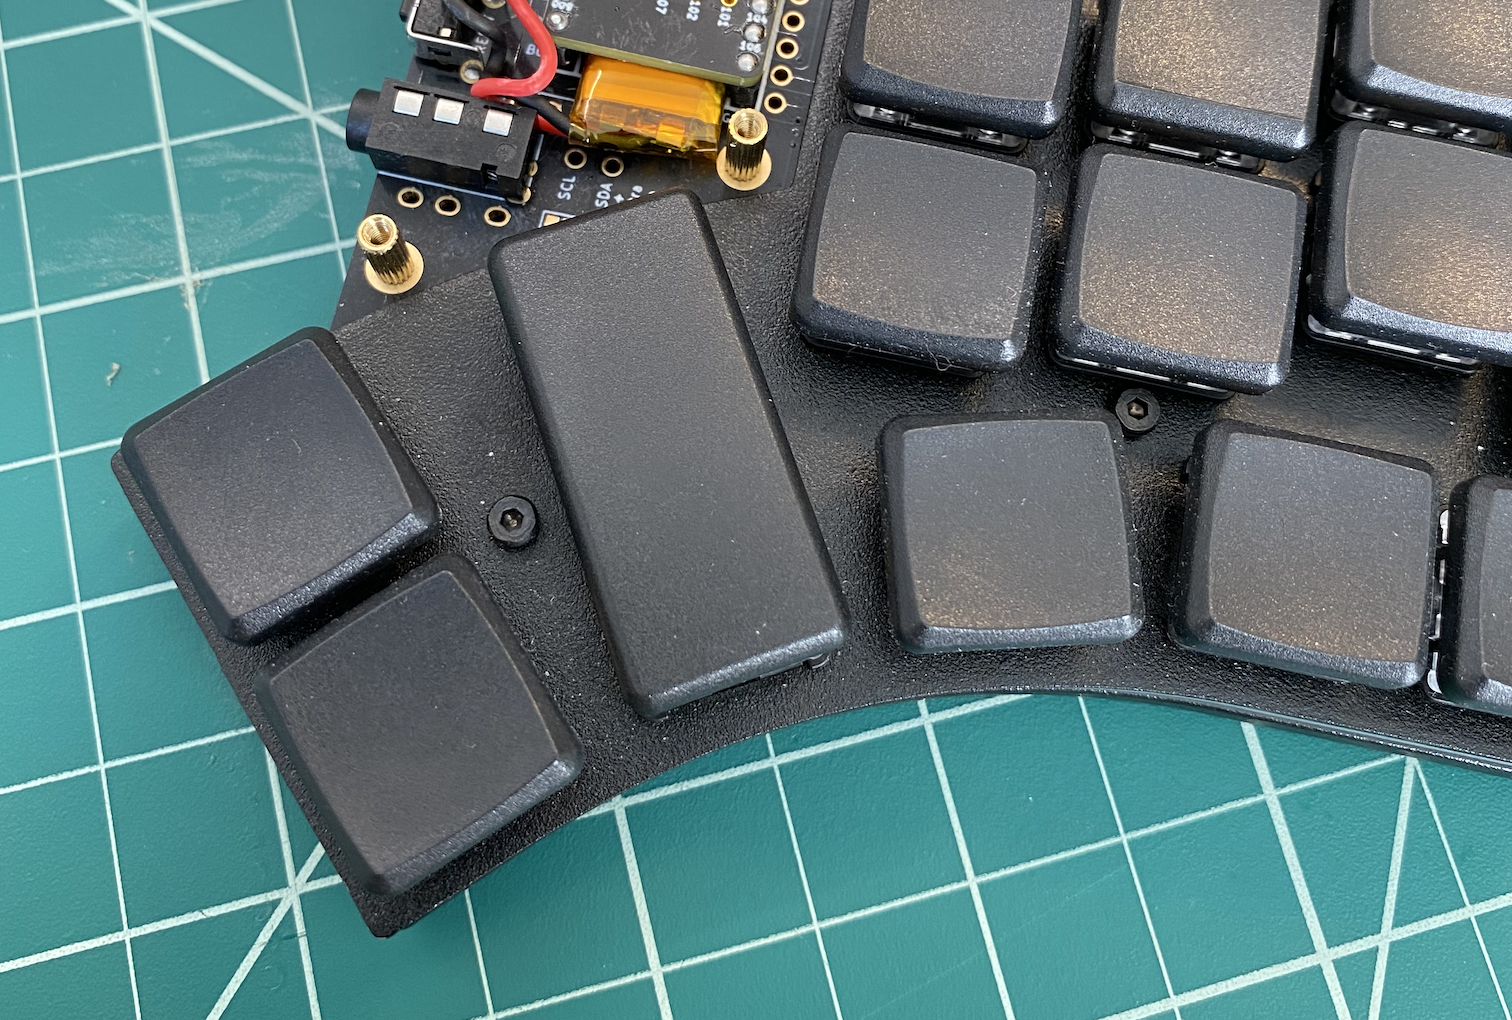
Next up: what are we gonna do about these thumb keys?
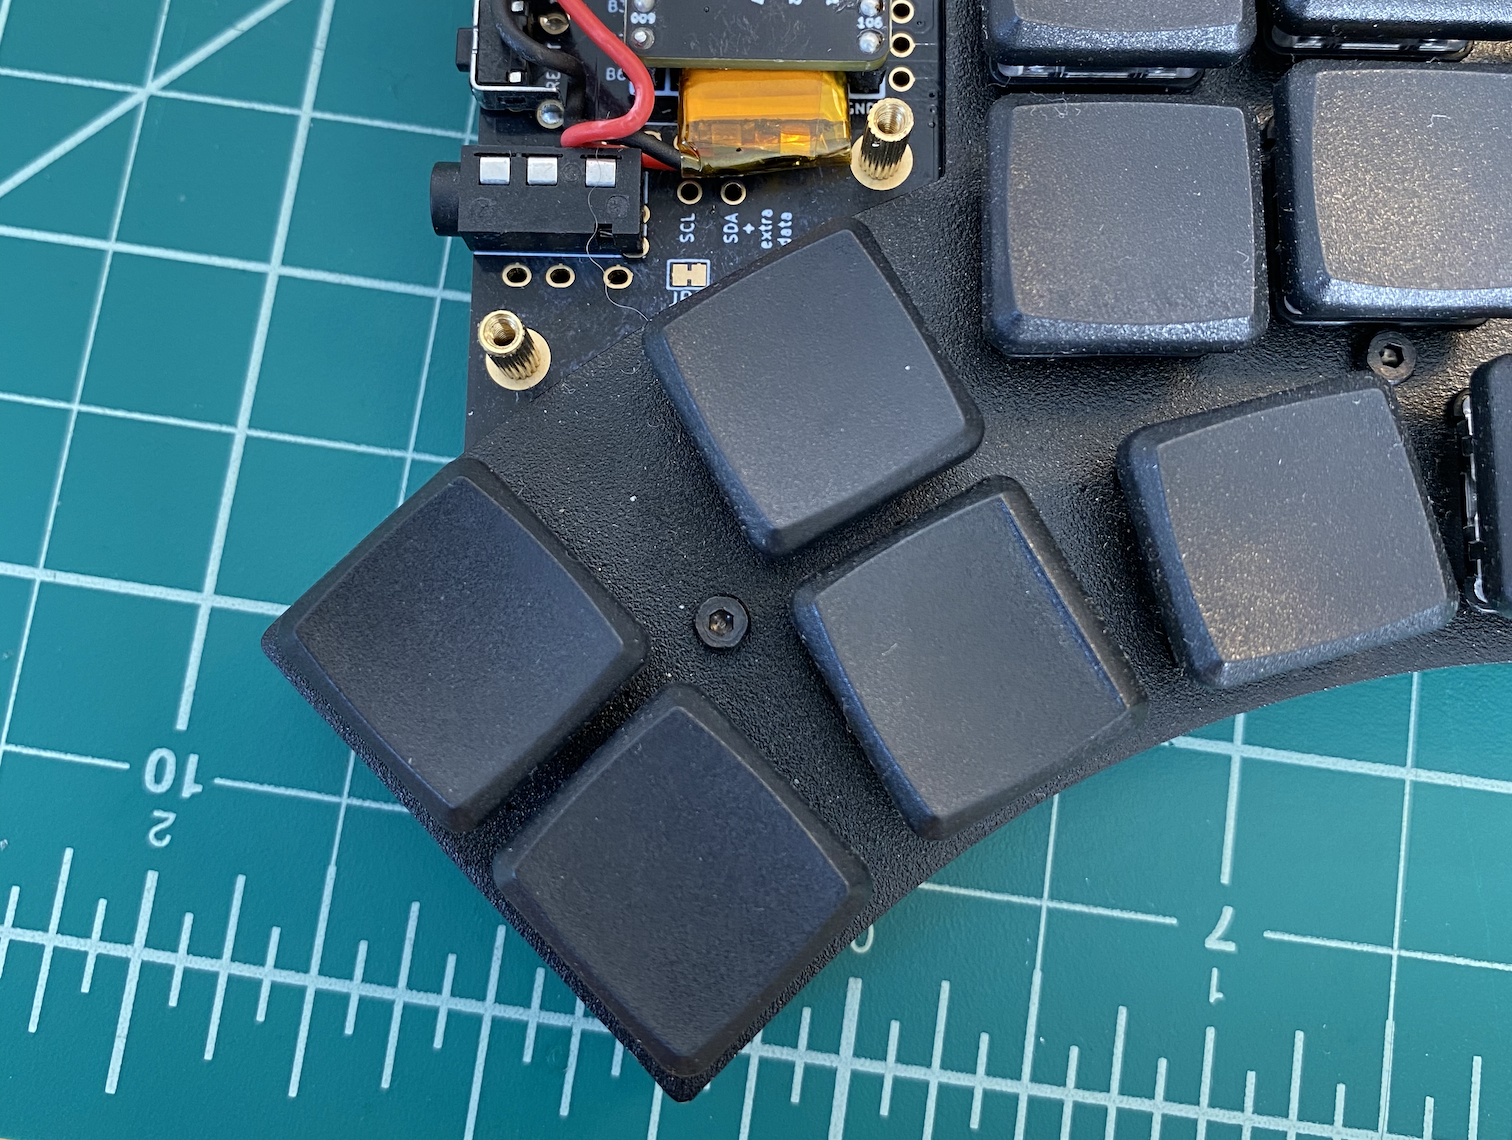
It’s easy to press the “lower” keys, but pressing the “upper” keys without also pressing the lower keys requires me to raise my whole hand and angle my thumb down.
That’s not great.
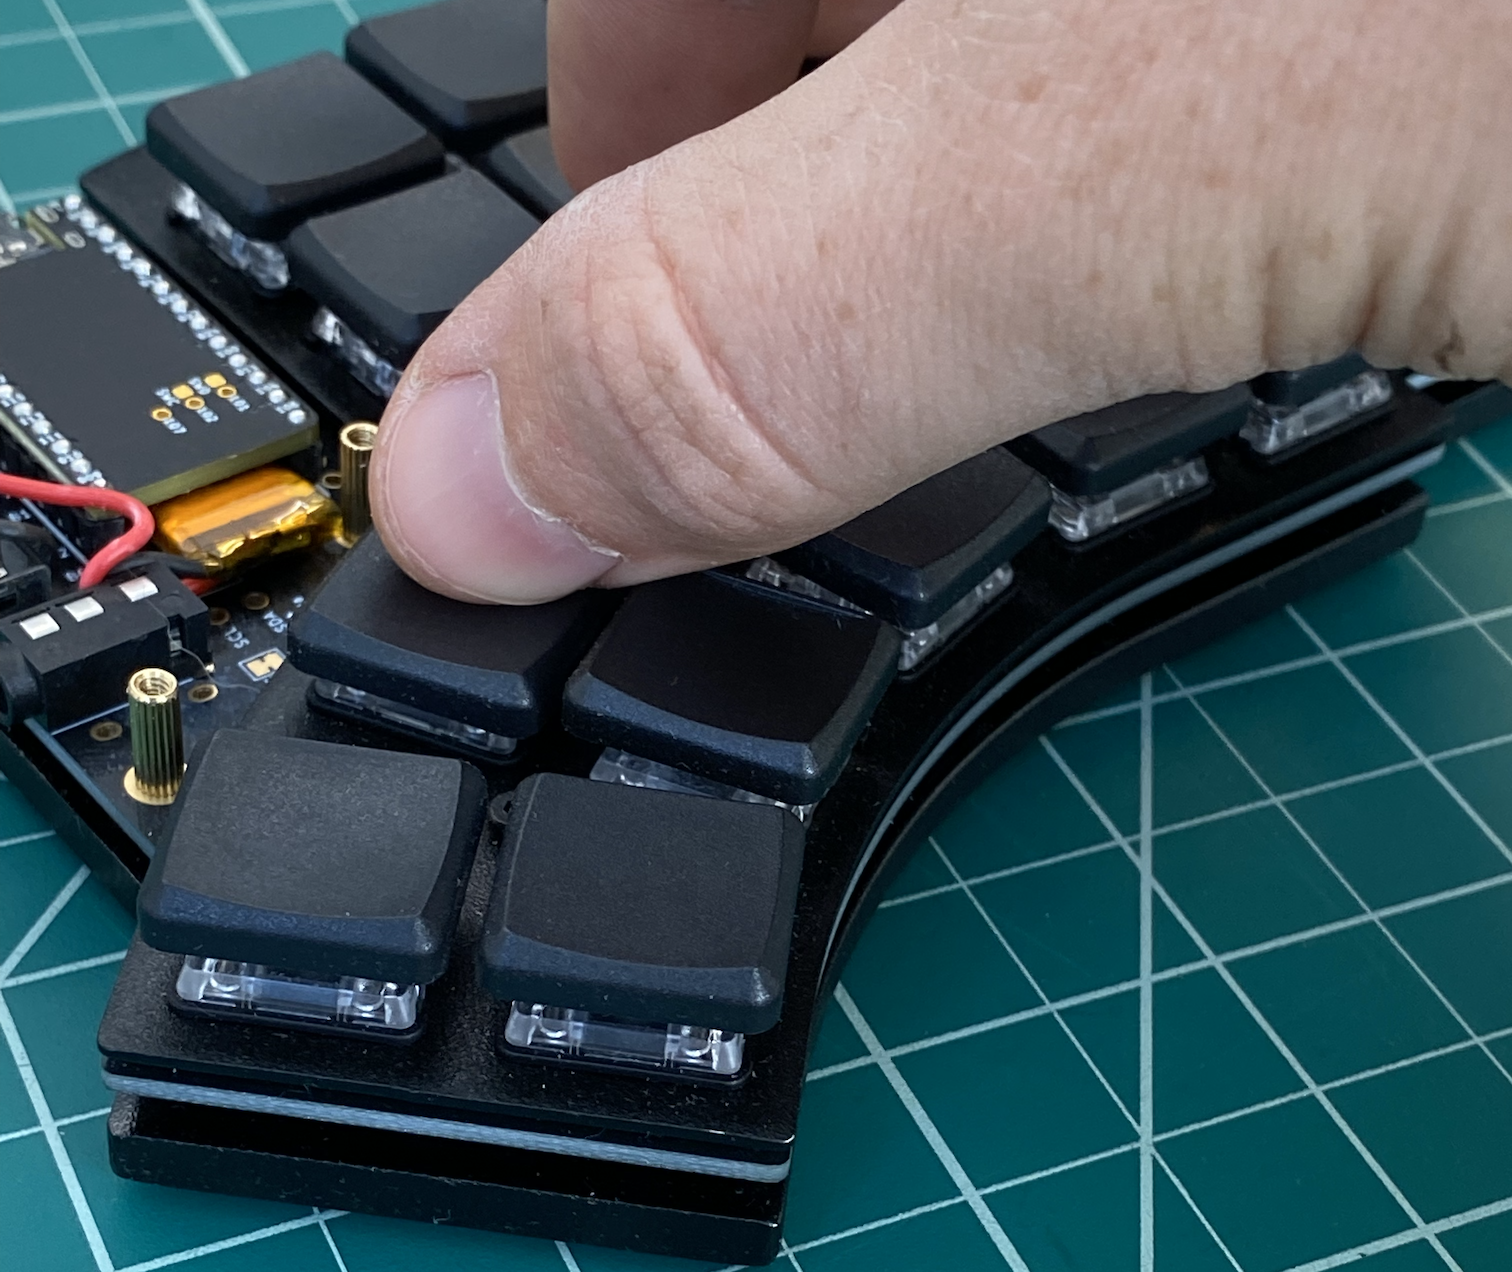
But I had an idea that I thought might improve it: put taller keycaps on the “upper” thumb keys. Then I could press those keys without also pressing the lower keys. Right?
Now, you can’t buy taller keycaps for chocs, but you can make them pretty easily. I don’t have a 3D printer or anything, so I took a spare 1u key, clipped the stems off, and then glued it on top of another key.


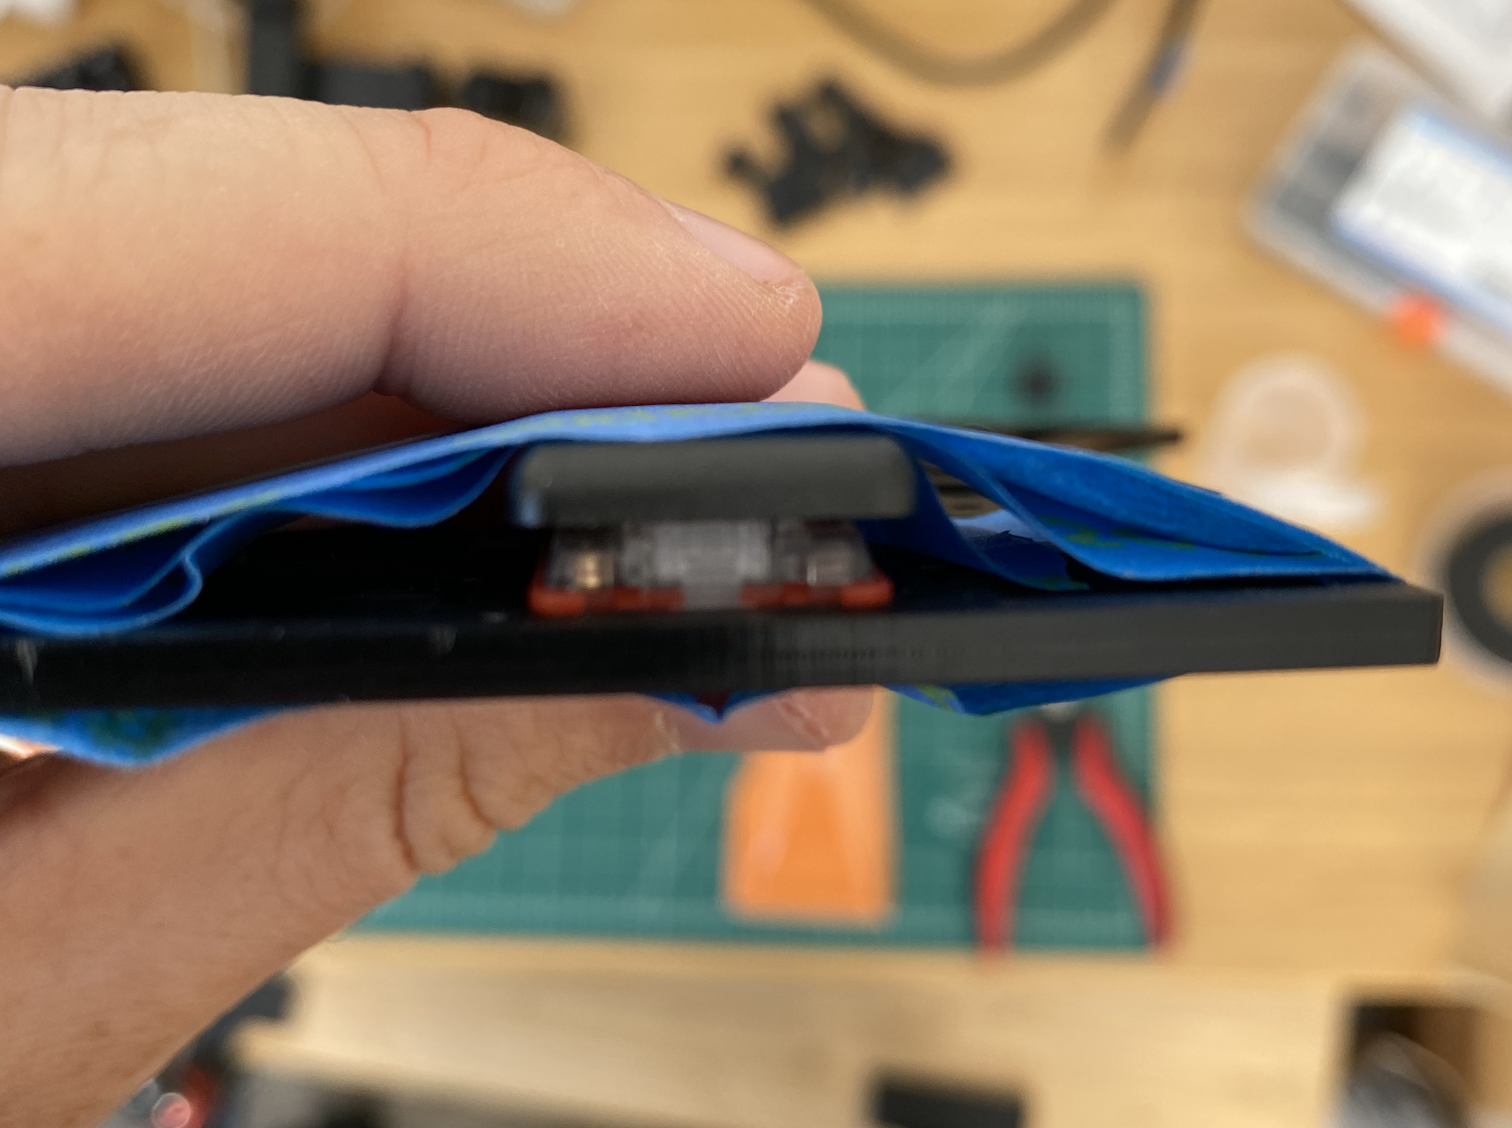
It’s not perfect – the seam is pretty conspicuous – but it blends in pretty well with the rest of the keyboard. And it’s exactly the right height such that I can press it without pressing the lower key as well:
For my first attempt at these double-decker keys, I glued the keys together with standard superglue. But I didn’t use an activator, so it took a long time to set in the anaerobic chamber between the two keys.
I had to leave it overnight before it started holding at all, and even then it wasn’t fully cured. I found out the hard way when I left the keyboard alone for a few hours, and came back to find it covered in weird cyanoacrylate fume dust:
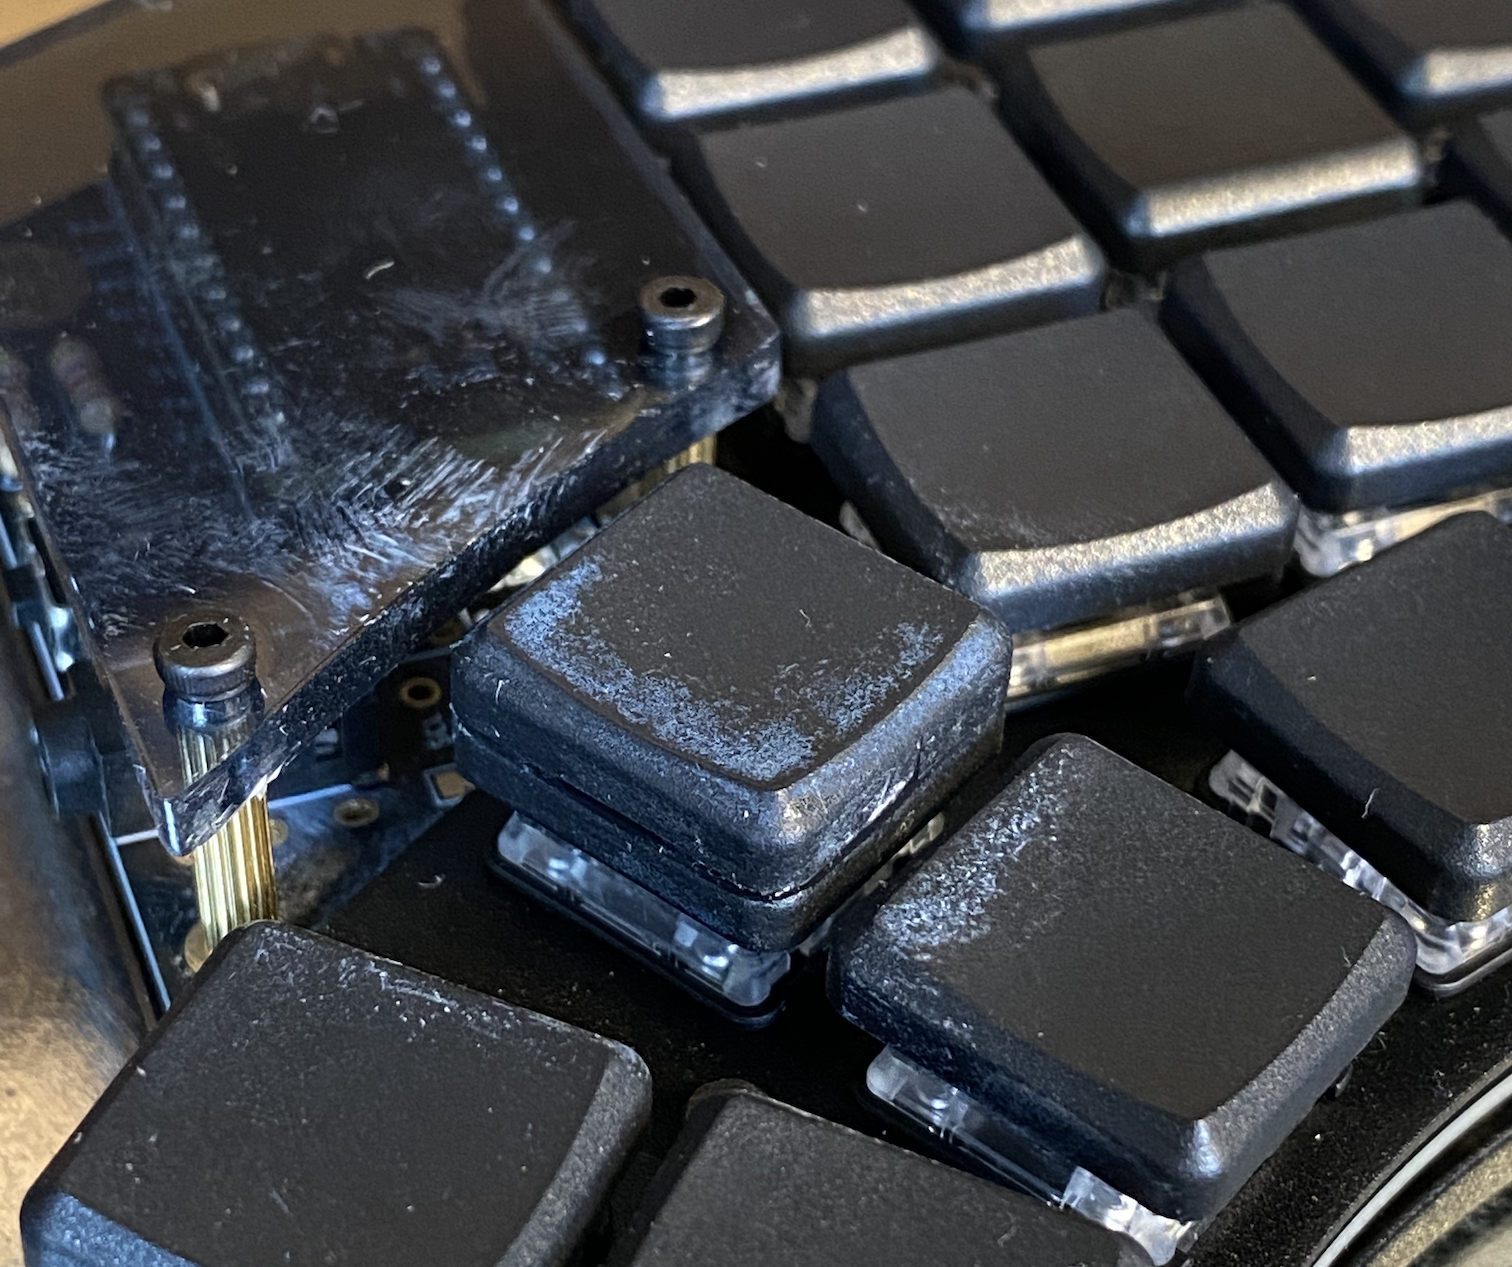
It cleaned off just fine, but I did panic slightly when I first saw it.
After that, I switched to a one-part “contact adhesive,” which both cured faster and didn’t fumigate my keyboard.
An alternative solution
If you’re building a Kyria with “normal” switches, you can choose to merge each of these keys into a single 2u key:
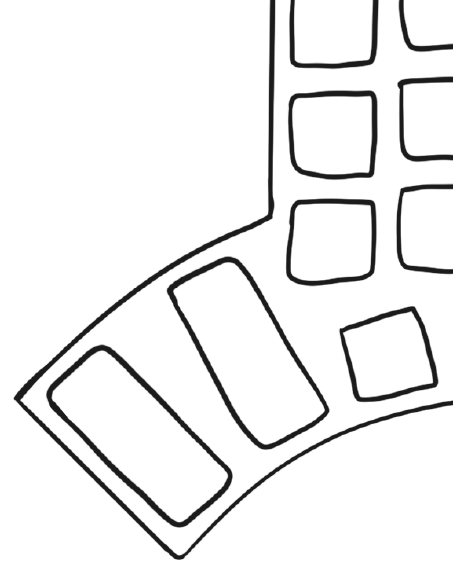
But the Kyria is not compatible with 2u chocs, which have a very different footprint than normal cherry keys.
But it’s still sort of possible to use a 2u key, by making a custom 2u that spans two 1u switches.
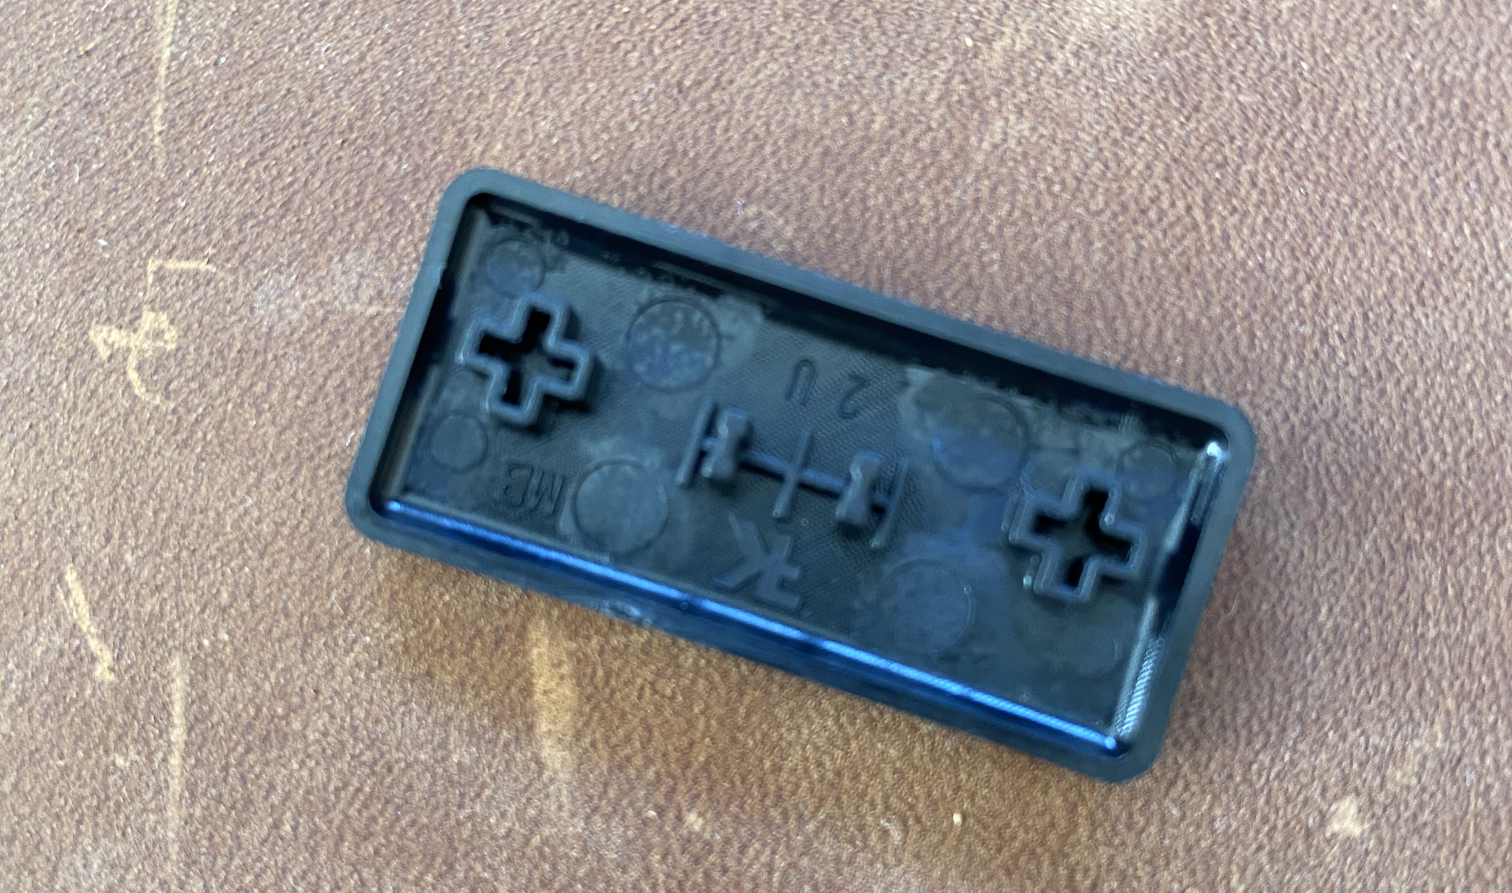
I clipped the stems off the 2u key with flush cutters, and I clipped the edges off of two 1u keys, to isolate the stems:
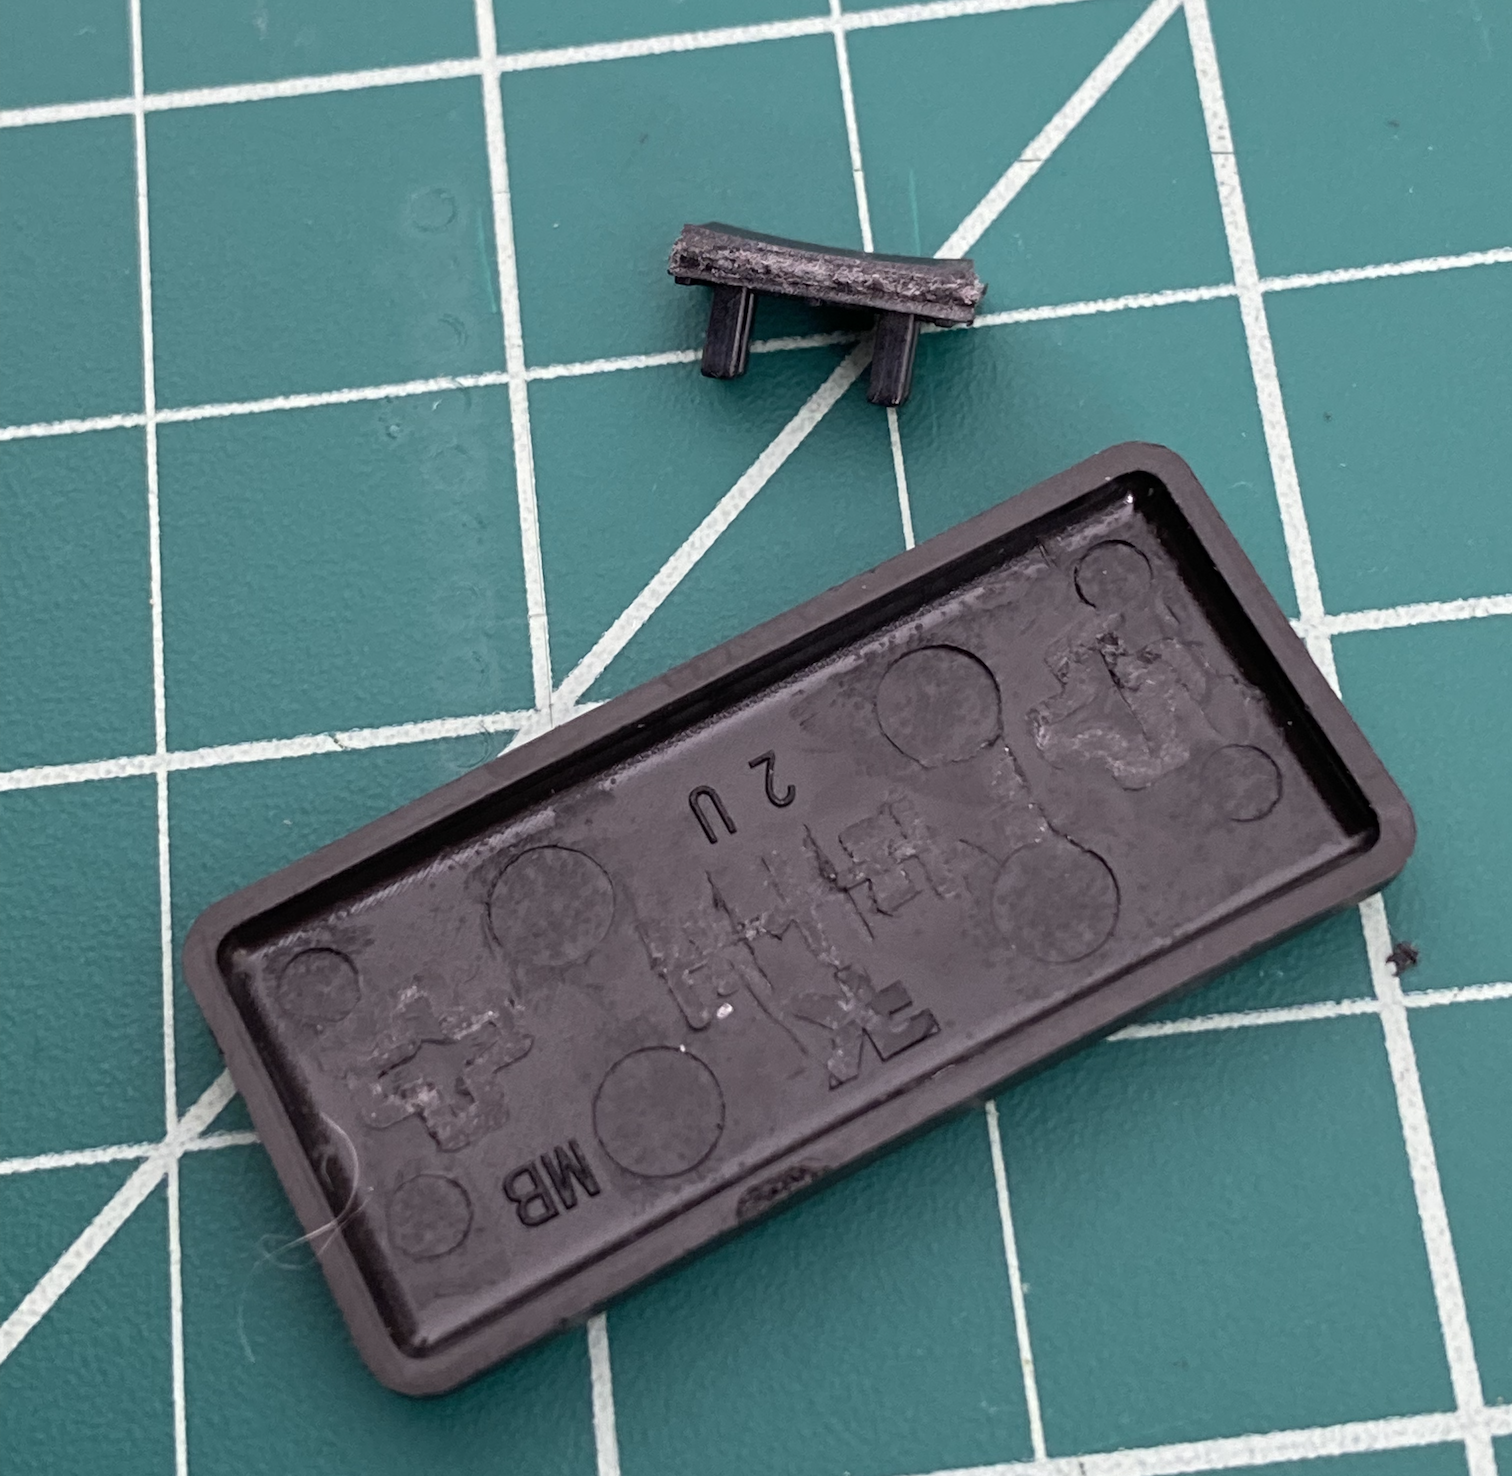
Then I sanded the 1u stem tops flat, and put them in my spare acrylic plate as a spacer.
Then I attached these stems to a 2u key with contact adhesive, clamping the whole thing together with some masking tape:
After leaving it to cure overnight, I found that it worked… okay.
It’s not pretty: the keycap moved slightly during clamping, so the key is not perfectly centered. But it’s close enough.

Without O-rings on these stems, the added height of the 1u remnants isn’t really noticeable. And the MBK 2u keys are convex anyway, so it already sticks out a little bit.
It looks pretty good, I think. It’s passable. I was very careful removing the keycap from the switches – I don’t totally trust the contact adhesive to withstand the force of pulling out two Choc stems at once, so I sort of pushed it out from underneath, and it held up fine.
But it’s very hard to press the key. Like, it literally takes a lot of force to depress both switches at once. Which, I mean, duh, I guess, but I didn’t expect it to be so noticeable. Thumbs are strong! But if you actually want to go the frankencap 2u route, I would strongly recommend getting lighter springs for those two switches.
But I prefer the two-story keycaps anyway, so I didn’t bother with that.
-
Oh no. The audiophile was inside me all along. ↩︎